Showing posts with label Card Making. Show all posts

Sunday, July 6, 2014

It's Official!!!! Exciting News!!

I have some exciting news to share. I have been appointed to the Creative Director of Inky Hot Mess! The first thing I am doing is assembling a Creative Team....some would call it a design team, but we'll be doing so many different creative things - traditional scrapbooking, pocket scrapbooking, stamping, card making, altered art, and mixed media - that we're a Creative Team. 

Would you like to be part of the new Creative Team? Please apply! Here's what we are looking for:


inky hot mess is 

looking for a creative team! 


inky hot mess is a family run business located in the heart of the finger lakes in upstate new york. the focus of inky hot mess is on pocket scrapbooking. our goal is to get everyone to get their photos off their computers and phones and printed. we offer a jammed packed monthly kit featuring dozens of journaling cards and a mountain of embellishments. we also offer theme kits, stamps, dies, and embellishments.

what are we looking for? we are looking for individuals with mega talent. all team members are asked to stay with us for six months. inky hot mess will provide all the goodies needed to create your masterpieces as well as a discount at our shop. 

submissions are open until july 31st at 2 pm est. all team members must be located in the usa. the team will be announced on august 15th. your commitment begins september 1st and ends february 28th. 

you agree to submit a minimum of 12 journaling cards every month. more than 12 is highly encouraged! the bulk of the cards will need to correspond to the monthly kit themes. you also agree to promote inky hot mess on your blog, facebook, pinterest, youtube, instagram, etc. you agree to keep the upcoming monthly kit themes under tight wraps. we don't announce our monthly themes before our reveal on the inky hot mess blog. you agree to post our creative team member on your blog.

please send the following items to office@inkyhotmess.com. please use "creative team" for the subject so we get your message right away! 

include your blog, pinterest, youtube, facebook, instagram, address, phone number, and a bio. 

​photos required:
six - eight journaling cards you created
six - eight layouts (pocket page protectors filled) you created 

please answer the following questions:
how long have you been working with project life/pocket scrapbooking?
what is your artistic background? 
what design/creative teams have you been apart of?
have you taught classes? if yes, where?
can you successfully complete a six month commitment? 
why do you want to be a creative team member?
would be able to travel to new york state for a team meeting during your six month term?
are you comfortable working with mixed media?
​do you take fabulous photographs along with step by step instructions? 

*if you don't have a youtube page, no worries! prior design/creative experience is not a requirement!

Friday, November 15, 2013

Paper Pad Mess

Since I've gotten into card making, I've stocked up on 6" x 6" paper pads. Their smaller scale works so much better for many cards. You get the full pattern on a much small piece of paper. 


What do I do with this mountain?? Seriously. It's ugly and looks terrible on my shelves. And then there's that whole problem with things falling over. Yeah, thanks, but no thanks. 

So here's my solution. I purchased the black plastic basket from Target. They are found in the kitchen plastics section by the dish drainers. My Target has them in black or white. The 6" x 6" paper pads fit in them perfectly!

To help with saving a smidge of space and not having to worry about the seals that hold the paper pads closed getting everything all sticky, I tore both covers off. My original plan was to just cut off the company name and collection name off the cover and put that with the paper pad. That's what I do with my 12" x 12" collections. I didn't like how that looked with the small pads since they stand up and the large collections lay down. Shuffling through them to find what I wanted was also not as easy since the cardboard piece would fall to the bottom of the bag.


So onto Plan B! I threw away the cardboard pieces. They irked me. They also weren't very neat and once there's cut up papers in the bags, it would be even harder to find the tag. I have about 834 million labels around here. I went with the Avery 8478 labels. They're made for 1/3 tab file folders. There is a template you could use if that's your thing. I just used an Ultra Fine Point Sharpie and wrote on the labels. All I put on the label was the company name and the collection name. This solved my issues.


How do I organize my paper pads? Same way I do my collections. They are all sorted by theme. Christmas, winter, autumn, Halloween, Americana which covers the 4th of July and anything patriotic, spring, summer, beach/nautical, boy, girl, baby, love (includes Valentine's Day), wedding, Easter, outdoors, pets, school, etc. 

The bags. They are an odd size. I originally purchased them for my Close To My Heart stamp reorganization project. More on that in another post in the future when that project is complete. 


The bags are 7" x 7" zipper bags and I purchased them from eBay. They fit both the Close To My Heart stamp sets and the 6" x 6" paper pads perfectly! I'll have to find 9" x 9" zipper bags when I get some 8" x 8" pads. 

Oh one great thing about ordering the bags from eBay. You can find people selling them in 100 count or 1,000 count. I went with the box of 1,000 since I knew I have a huge project in the works. 

Hope this works for somebody out there! 

Wednesday, November 13, 2013

Grandmother Birthday Card

Two of my grandmothers have birthdays this month. No need to visit a Hallmark store when you have a studio full of supplies! I ended up making six of these cards. I figured I had everything out and making multiples is easy. It's the first one that is challenging. My extra four cards went into my Operation Write Home stash. Maybe someday I'll become famous and sell my cards.


Until then, I'll let you know what went into these cards. They're all the same card. A few things are different on a couple. I had some issues with my Vagabond. I finally used it! Talk about a learning curve. It doesn't work anything like the Cuttlebug! Lots of reading and video watching is necessary with the Vagabond unlike the Cuttlebug which is all trial and error. 


The card bases are Colonial White Die Cut Cards from Close To My Heart. Upon them I built several layers of papers and cardstocks. All of which came in the Chantilly Paper Pack from Close To My Heart. I used the Champagne, Buttercup, and Lagoon cardstocks. 


All of the inking was done in Regal Rose from Stampin' Up. The cardstock base was sent through my Vagabond and I used the Sizzix Texturz Fancy Fan plate from Stampin' Up.


The twine is Pink from Queen & Co. The stamps inside and out are from the Birthday Tags set from Papertrey Ink.


I used two die sets for this. The first one I used cut out the larger base that the stamped cardstock sits on. That first layer was cut on the Vagabond using Labels Fourteen from Spellbinders. The stamp cardstock layer was cut on the Vagabond with the Tabs and Tags set from Clear Dollar Stamps.

Apparently, I've come up with some sort of style that's my own. I haven't seen anyone else do this, but I'm sure there's at least one other person on earth who's done this. There are, after all, something like seven billion people here. Surely, I didn't create this, but it does seem to have become a signature for myself. 


I've been stamping a small sentiment in the bottom corner of the card. Then a stick on a row of washi tape. I have no idea who makes this washi tape. I probably should try to keep track of that somehow. Not sure how since all washi doesn't come wrapped up with a label when purchasing it especially online.


Monday, October 28, 2013

Have a Holly Jolly...

Yup....I was singing Christmas carols Thursday evening. I blame my friend Erin. She has some friends who are in the military and she ganged up on us and demanded we make a bunch of cards to send to them so they can have awesome cards to mail home to their families, friends, and loved ones. It's like a mini Operation Write Home for her friends.

Now, I admit I am not a card maker. But darn it, I'm going to try! So I made two cards last week. I made four of each card and covered two themes. Winter and Christmas are done. Considering doing some New Year cards. I discovered I have a cute New Year stamp! Who knew? Not me! And then I will be doing some Valentine's Day cards. Probably a birthday batch as well. Then I'll be done. I have a bunch in a box I was going to send to OWH, but I just watched a video from them and I think my cards are too thick! Ugh. Less pop dots is more....Ok I'm not buying, but I'm trying to convince myself!

It's a Wonderful Life - A Muse Studios
Card #1 is my Christmas carol card. Everybody....sing along...sure it's only October, but Christmas will be here before you know it! Have a Holly Jolly Christmas.... Where's Frosty when you need him?

A Muse Studios, Papertrey Ink & The Paper Studio
The Holly Jolly stamp is from a super cute stamp set from A Muse Studio. The set is called "It's a Wonderful Life." I live two towns over from the famous bridge and the town that inspired the movie! I kid you not. There's a museum there and a huge festival every December. Actors from the movie come here for it and everything. Crazy, right? But so cool! That's why I was interested in the stamp set. I didn't even look to see what came in the box!

Have a Holly Jolly Christmas
It's a Wonderful Life is in the chalkboard style that is wicked popular right now. I stamped Holly Jolly in the reverse. It's stamped on white cardstock with True Black ink from Papertrey Ink. The brick red paper is from a Christmas stack from The Paper Studio which is Hobby Lobby's brand. The cardstock underneath the paper is Pinefeather from Papertrey Ink. The base is white cardstock distressed with Pinefeather ink from Papertrey Ink.

One thing I love about Papertrey Ink's cardstocks are how heavy they are! Their cardstocks are 110 pound weight! That's like pro cardstock. They know what they are doing there! I have only purchased the samples of their cardstocks before. I've had one pack since 2011! And I never opened it. Shame on me! This is what happens when you're a scrapbooker and you resist crossing over. I'm trying though!

Let It Snow Cards
The second card I made I got a little crazy with the inks. Adirondack Colorwash from Ranger is dangerous! It's highly addicting. I wasn't going to wait overnight for the card bases to dry so out came the heat gun. So the cards have a slight curl to them, but I'm sure it will flatten out once packaged and shipped to my crazy friend Erin.

Sailboat Blue Adirondack Colorwash

I used two bottles of Adirondack Colorwash (made by Ranger) - Sailboat Blue and Denim. The papers are from Magic of the Season from The Paper Studio.

Denim Adirondack Colorwash
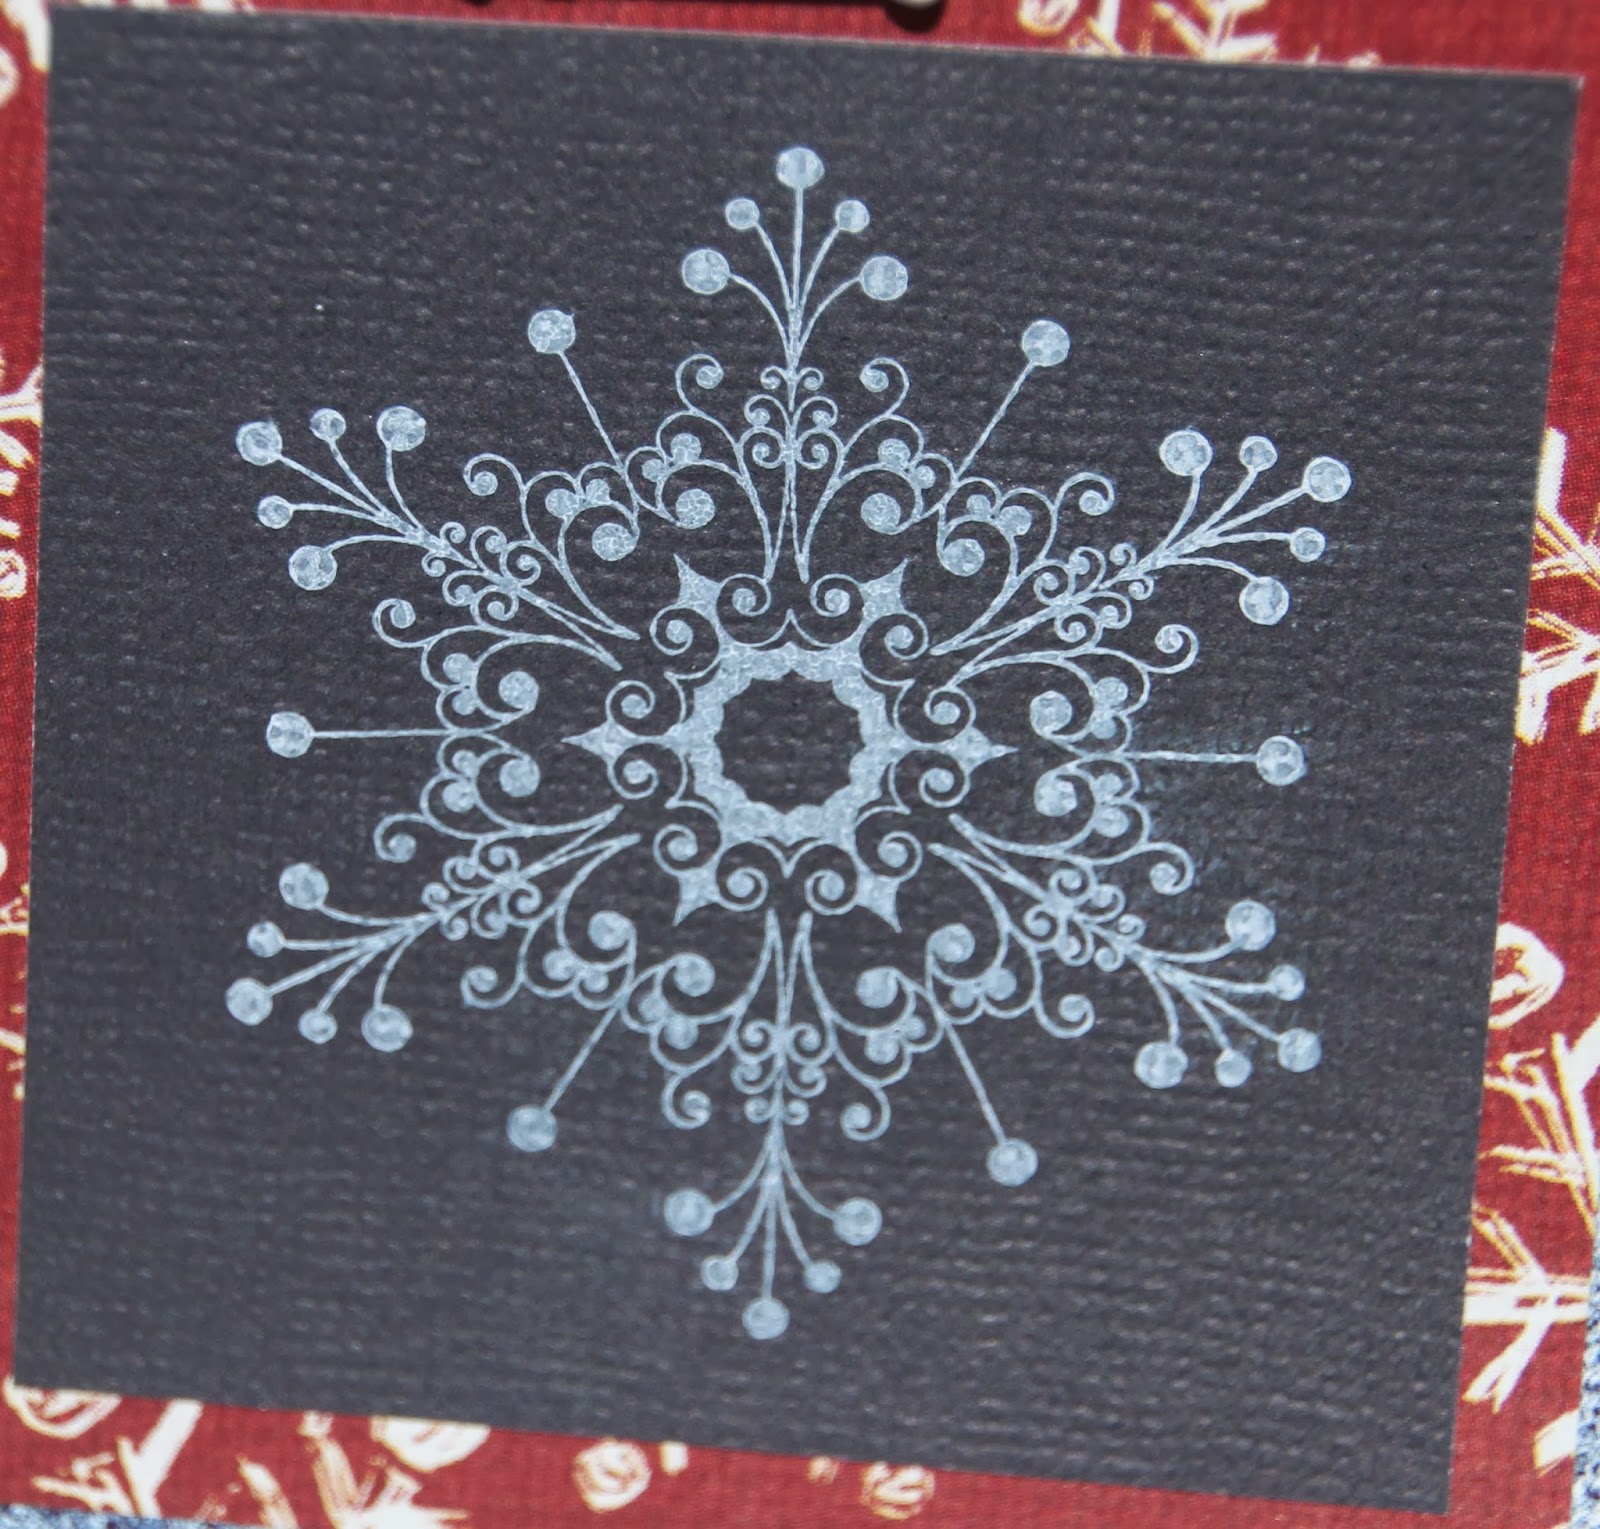
For "Let It Snow" and the snowflake I used Colonial White pigment ink from Close To My Heart. A little white Liquid Applique heated up with my heatgun puffed up.

Snowflakes - The Paper Studio
The "Let It Snow" stamp is from the Snowflakes set form The Paper Studio.

Artistic Holiday - Inkadinkado
The snowflake stamp is from Artistic Holiday by Inkadinkado.


A Muse Studio is a home party company so you cannot find their stamps in stores or online except for their website. I was recently put into contact with Pamela who is an A Muse Studio Consultant by one of my good crafting friends. If you'd like to see more from A Muse Studio or purchase It's a Wonderful Life so you can sing Christmas carols in October, please feel free to contact Pamela. Click here to visit her website.

I do not receive any compensation for the products used on Inky Hot Mess. I use what I like. The products are not given to me. I have purchased every item used. So if I think something stinks, I'll tell you to save your money and go elsewhere.

Monday, October 21, 2013

Sale News & Project List

This weeks' sale is still going on! You only have until tomorrow to save big $$$$!

This week's sale includes ALL Stickers, Alphabets, and Bundles. Nothing over $5! There were over 100 items that are $1 or less! Where can you get scrapping supplies for a buck for a 12" x 12" sheet of alphabet stickers? No where!

Also a reminder that I have brand new Copic Ciaos for $3 each! I had over 40 colors when I put them up for sale. Now I have just over 20 colors available! Copic raises their prices yearly so you will be very hard pressed to find them for $3 anywhere.

What's on my Project List for the week?

I need to make a bunch of cards for Operation Write Home and for a friend who's sending cards to a friend in the military. I just heard about Operation Write Home a few weeks ago. It's great organization that helps out our military women and men. There aren't any Hallmark stores overseas. I know some of our military folks are in great places like Germany and they can shop there, but so many overseas in horrible places like the desert. There's no water. Forget a Hallmark store! So people make cards and send them to OWH who has military contacts and sends what they are requesting.

They take holiday, seasonal, and general cards. They have very strict deadlines because they want the folks to be able to send the cards in time for the upcoming holiday. They do have several rules about the cards they accept. They MUST be handmade! Absolutely NO NO NO NO NO NO NO NO NO glitter! Glitter can get our soldiers killed. It can be seen with night vision eyewear. Stickles? NO! Quickie Glue Pen? NO! Gel Pens? NO! Glitter embossing powder? NO! NO glitter. Period. I know this sounds harsh and OWH really harps on this, but the safety of our soldiers is #1! Our cards are supposed to help them and their families not hinder them. You can still add bling like a rhinestone or pearl!

Adhesive. Don't go cheap on adhesive. Remember this cards are going to be shipped at least three times! Once from you to OWH. From OWH to the military contact. From the soldiers to their loved ones. Use something made for major crafting like ATG or Beacon. Glue sticks do not work! Remember, these packages will also go through crazy temperatures from freezing cold to well over 100 degrees!

There's a video for tucking your envelopes with your cards on OWH. They do ask for your help when sending your cards. They handle hundreds of thousands of cards a year and this is all done by a handful of volunteers. Anything we can do to make their jobs go a little faster and easier means they can spend more time with their families and other projects they have going on in life.

Remember, NO glitter!!!! Use really good adhesive. Tuck your envelopes. Stamp your cards with the stamp you can get for free or one of the ones you can purchase through OWH. Use heavy cardstock. Include a letter to a soldier! If you have kids, have them color a page in a coloring book and send that in as well. There's a whole section on OWH about letters to soldiers. I think it's a pretty great program. Many soldiers don't receive letters or mail from home. Many also miss their families tremendously and this little things help them in so many ways. Imagine being able to send your five year old son a Christmas or birthday card from Afghanistan! Knowing you can't be there has to incredibly difficult, but something as simple a card from mommy or daddy can make a child's holiday!

So a bunch of cards for OWH is on my project list for the week. I'm also making my Christmas Family Feast invitations. Time to start thinking about my Christmas cards as well!