Showing posts with label Project Life. Show all posts

Sunday, July 13, 2014

Inky Hot Mess July Kits

Inky Hot Mess has revealed the new monthly kits for July! The Living Life (similar to Project Life) kit has two themes this month: nautical & Americana. They also introduced a new kit this month. They are now offering a Paper Crafting kit. It's full of 12"x12" papers, cardstocks, and embellishments. The theme for the Paper Crafting kit is summer.


The Living Life kit contains a mountain of embellishments. There are 30 3"x4" cards and 21 4"x6" cards in this kit. The wood veneers and flair are made in the USA! 


The Paper Crafting Kit  contains 10 papers, 7 cardstocks, and a sheet of glitter paper! There are lots of embellishments as well. A whole mess of stickers, enamel dots, clips, flair, wood veneers, ribbons, and more.


They have also announced the Embellishment Kit. It's all nautical & Americana themed. Lots and lots of stars, glitter, and cork! More veneers!

Shipping for the month of July is only $8 no matter how large or small your order is! Remember, you can purchase subscriptions for Inky Hot Mess. These kits will be available for purchasing on the 15th at 1 pm EST @ shop.inkyhotmess.com.  

Thursday, July 10, 2014

Round #2: Handmade Journaling Cards

Ready for another round of handmade journaling cards? This batch is also from Crop on the Cape. I said I was busy! It was one productive crop. That's for sure. I really can't wait for it next year! 

Here we go!!!


This card is made from a cardstock base. There's a glittered baby quilt sticker and yellow/green twine. The "Bundle of Joy" stamped image is from Close To My Heart (not sure which set - I don't have it anymore).


When I was into traditional scrapbooking, I never used alpha stickers. They just weren't my thing. Now with pocket scrapbooking, I've been using them here and there. This card is built on cardstock. The stickers are all from Echo Park. The heart and arrow are enamel dots.


This card is super simple! It's just cardstock with several stickers from Echo Park along with a clear sticker that says "cute". 


Super cute card! I love this one. Something about yellow cardstock just makes me happy. The stickers are from Echo Park as is the tab on the right hand side. To make sure it stays attached in my album, I used my tiny attacher from Tim Holtz. Love those teeny staples! On the bottom left corner, there are 3 enamel dots.


A baby boy card! Cardstock is the base. "Baby Boy" is a bunch of stickers from Echo Park. The twine is yellow/white/blue. To keep the twine in place, I used my handy dandy tiny attacher again. The upper right corner is a giant brad. The bottom left corner was stamped with a roller stamp from American Crafts in white pigment ink.


The next few cards have photos included. The face has been blurred to protect the identity of the child. I'm not into posting photos of children online. There's far too many freaks in this world! Sorry if this upsets some viewers, but I need to protect those in my life when I blog. 


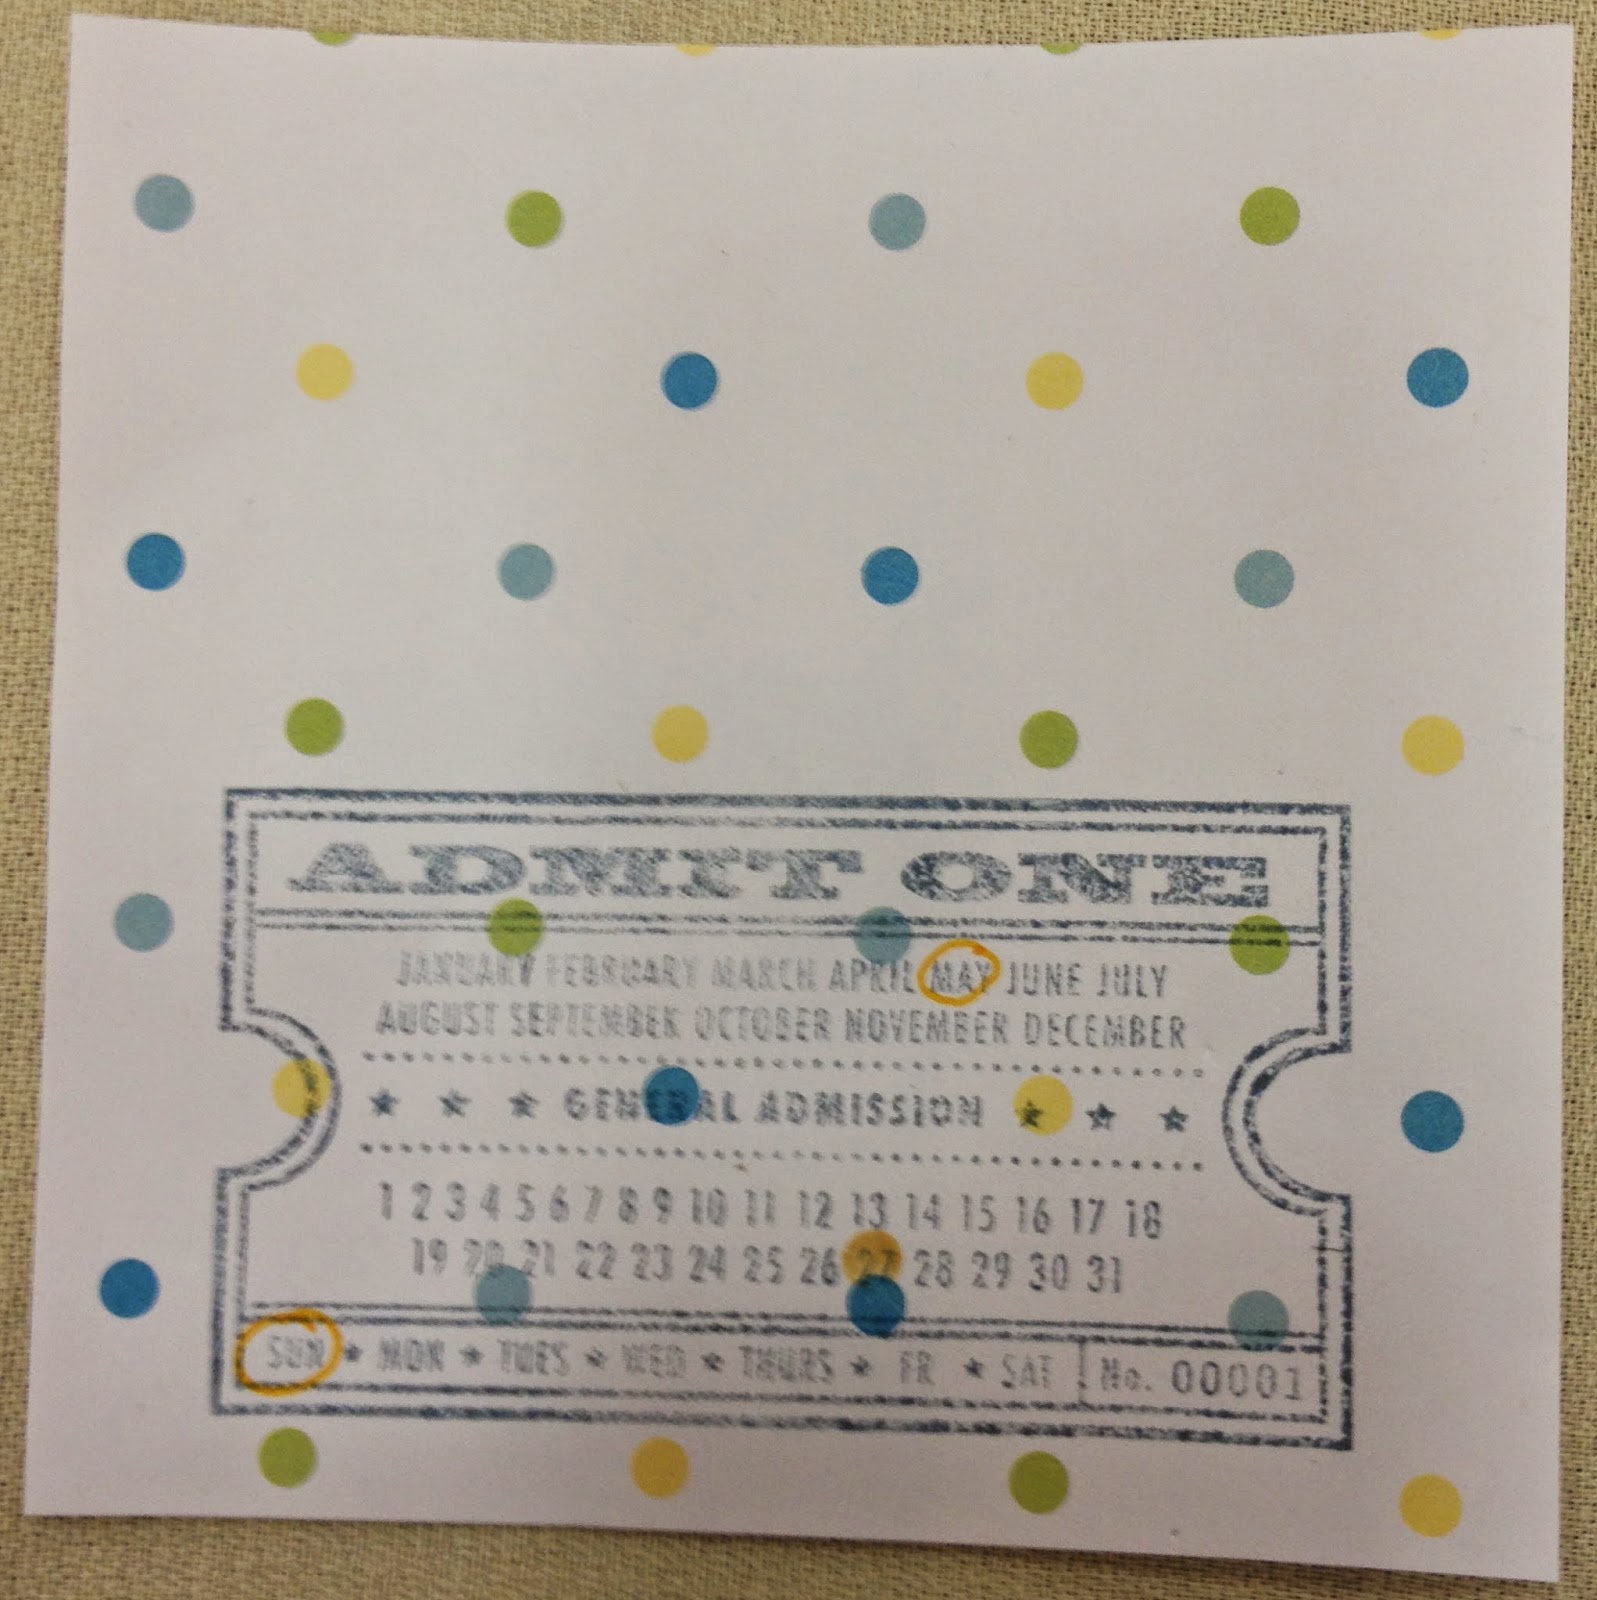
The photo was cut down to 4"x4" and attached to a 4"x6" cardstock card. The blue and white is washi tape. I cut the tape along the chevron blue line to make it look like an arrow. To help keep the end attached to the back of the card, I used a couple of tiny attachers. The stamped image is actually 2 different stamps. The ticket is one stamp. The circle with "baby" is the second. Unfortunately, I don't know who made either one! I wish I did because I really like this ticket stamp. 


This card was made with a 4"x6" cardstock card and a 4"x4" photo. The navy blue polka dot washi is attached with tiny attachers. The little elephant stamp is from B1391 Zoology from Close To My Heart. The little stars stamped under the elephant are also from this stamp set.


The photo is 3"x4" and the cardstock card is 4"x6". The stamp is from S1201 Little Reminder from Close To My Heart. It's actually 2 stamps. The number in the center is one stamp. The outer ring of months is another stamp. The writing was done with a chalk marker.


This is the final journaling card with a photo. It's 4"x4" on 4"x6" cardstock. I made a little banner on the side with white/green twine with pennant stickers from Echo Park. The twine is attached with tiny attachers. 


Super simple card alert! It's made from striped paper with glitter and a "Bedtime Stories" sticker.


I love making these simple cards. They are a great way to use up stickers that I've had in my stash for ages. they are also really fast to put together. I have an organizer with just precut cardstock. This on is 3"x4" with a clear sticker and 3 enamel dots. Easy peasy! 


A 3"x4" cardstock card. The upper left corner has a sticker from Close To My Heart. I don't know who made the stickers on the bottom right corner.


Sticker party! This card is 3"x4". Not sure who made the stickers. The stamp is from American Crafts.


A 4"x4" cardstock base had a get together with some rub ons. I love the calendar stamp! I really do love calendar stamps. I wish I knew who made this one so I could see if they have others. The washi on the bottom is cut on the left side and the right side is held on with tiny attachers.


Another 4"x4" card. The stickers are all from Echo Park.


This one is 3"x4". In the center, it's all one sticker from Echo Park. The grey heart and arrow are enamel dots.


This final card for this round is 3"x4". The sticker is from Echo Park. The stamp in the center is a mystery to me! The green polka dot washi is held on with tiny attachers.

Be sure to check back for Round #3!


Tuesday, July 8, 2014

Handmade Journaling Cards

Many moons ago, Crop on the Cape happened. I used some premade journaling cards. I also made a ton of cards that weekend. All of the cards I made were immediately used and are in my album of my nephew.

So today I'm going to show you a ton of the cards I made! I hope you enjoy. I tried to keep track of what items were used on each card and which stamps were used, but I wasn't always successful. I do have the info on most of them though! Feel free to ask me any questions about them.

This card was for the beginning of the album for my nephews. I started with the baby shower from nephew #1 who is now seven - yup 7!!! - years old. Sadly, this is the first I've scrapbooked him! In one weekend, I finished the first 11 months of his life. It was over 600 photos. His mom and I would scrapbook together every week or two so I saw him lots and cough cough my camera was busy. :)


The base of the card is just Bazzill cardstock. 


Next, I stamped the pregnant lady in chocolate onto the cardstock. The stamp is from Studio G.


I stamped " Mommy to be" in navy ink next to the pregnant lady. Don't know who the stamp is from. Sorry!


The journaling image was stamped next in navy ink. I think it's a stamp from We R Memory Keepers, but I'm not 100% sure about that.


To finish this card off, I added polka dot washi tape and a brad. I did journal some, but I'm not sharing the personal details. 


Up next is a fun card! I looooooooove calendar stamps. I seriously can't get enough of them. I hunt for them every time I go stamp shopping. 

This card was made from Bazzill cardstock, the calendar stamp (no idea who made it), a diaper pin stickers, and a bit of twine.


This card is super cute! I love little ducks. This card was made from Bazzill cardstock, 3 washi tapes, an adorable ducky sticker, and the april stamp is from Close To My Heart's S1111 Cherish the Day. 


Who doesn't love booties? Even better when they're not attached to a swinging foot! This card is made from Bazzill cardstock, a bootie sticker and then I stamped a blank ticket. Not sure who made this stamp. I used a white chalk marker/pen to write the name and date.


This cards is made from Close To My Heart cardstock and a rub on. Simple, easy, and fast!


Bazzill cardstock is the base. A little rhino sticker from Animal Crackers from Close To My Heart and red and white twine. 


The base is cardstock along with a lion sticker from Animal Crackers from Close To My Heart. A few simple embellishments include a red button and red and white chevron washi. The stamps from from D1378 Notice the Details from Close To My Heart.


Pale green cardstock is the base of this card. The alligator stamp along with the "Cloud I be any Cuter?" and hearts are all one stamp from C1501 New Arrival from Close To My Heart. I finished this card off with 3 enamel dots and yellow/white twine.


I love the phrase "Cutie Patootie." The base of this card is scrapbook paper. The "Cutie Patottie" is a rub on. The bottom of the card has navy polka dot washi along with a huge pearl brad.


This card is 4"x4". I have tons of pocket page protectors and they have pockets in a variety of sizes besides 3"x4" and 4"x6". The base of this card is paper. The stars on the right hand side are rub ons. There's a sticker from Echo Park in the center. The calendar stamp on the left is from D1468 On This Day from Close To My Heart.


This card is also 4"x4". The base is scrapbook paper. The "baby sweet cheeks" is a rub on. I finished off the card with 3 enamel dots and baby blue foot print washi.


I made this card as a 4"x4" as well. It's a very simple card made from paper and stamped from D1468 On This Day from Close To My Heart.


This pair of cards are both 4"x4" and they are placed in pockets next to each other in my album. they are made from scrapbook paper and stickers that spell baby.


Remember how I love calendar stamps? I warned you about that. :) The base of this card is cardstock. There's a sticker and some enamel dots. The stamp is from D1468 On This Day from Close To My Heart. 

I did some freestyle journaling. I know many of us are less than excited about our handwriting. I'm part of that crowd! I always feel like a 4 year old wrote for me. It is what it is! One thing I love about Project Life and pocket scrapbooking is the journaling. I've never journaled much at all in my 12 years of traditional scrapbooking. I couldn't stand doing it, but now I actually journal quite a bit! I'm not so afraid of it. I figure my handwriting is mine so deal with it. :)


I totally can't get enough washi. This card is made from cardstock, a sticker, and 3 washi tapes that I cut. The stamp is from C1338 Just for Boys from Close To My Heart.


This card is made from Close To My Heart cardstock. The sticker is from Echo Park. I really love their cardstock stickers! They have some really great graphics and colors. The little blue glitter hand is a brad. The date is handwritten on lines from D1378 Notice the Details from Close To My Heart.

Well, that's all for today. Be sure to stop back tomorrow and I'll be sharing more handmade journaling cards. 

Monday, July 7, 2014

Raskog Adventure Part 2

I've been asked about how I transport my Raskog carts. I drive a small SUV. It is bigger than a shoebox and does the job. I have a little thing for hauling stuff around. I'm always on the go.

Well, my Raskogs do travel well! This the carts all packed up leaving Crop on the Cape. This is the cart on the right side of my SUV. Yes, they are standing up on my backseat. Yup, they are seat-belted in! They didn't move an inch and they had a seven hour ride home.


The plastic bins you see are the Medium Organizers from Close To My Heart. They fit perfectly and they hold a ton of cards for pocket scrapbooking!


And the cart on the left side. The sun was shining right in my face as I was loading up. Sure beats the snow that started off the weekend! This cart doesn't have the organizers from CTMH. It has the Antonius bins from Ikea. They be ordered online as well.

Big Sale at Inky Hot Mess

Do you need some glitter? How about paper packs? Clear stamps? Then you are in luck! A whole mess of these goodies are on sale at Inky Hot Mess right now!

Love their theme kits? All of the child kits are on sale. They are including the baby theme kits as well. 

What's a theme kit from Inky Hot Mess? They are kits for project life or pocket scrapbooking, but you can use them for traditional scrapbooking and card making for embellishments. They are tons of fun!

Here are some pics of the theme kits. Oh and there are 5 or less of each theme kit on sale. If want one, hurry up and grab it before someone else gets it first. These kits will not be restocked. 

star bright, star night

little boy blue

lavender baby

baby boy


Friday, February 28, 2014

Pocket Scrapbooking

There are so many companies that have jumped on the pocket scrapbooking party train. Most make pocket page protectors and journaling cards (filler cards fall into the same overall category). Here are the companies that I have stumbled across that make all these goodies:

Project Life/Becky Higgins
Studio Calico
American Crafts
We R Memory Keepers
Teresa Collins
Close To My Heart
Kaisercraft
Papertrey Ink (brand new this month!)
Echo Park
My Mind's Eye
Simple Stories (their entire philosophy is simple scrapbooking)
Crate Paper

Now there are also companies who make 12x12 papers that have journaling cards on them. You simply cut them up yourself. 

About that mountain of 12x12 patterned papers and cardstock sitting in my studio? Yeah, about them. I'm slowly working my way through them and cutting most of them into 4x6 journaling cards/filler cards. Yup, even the cardstock. Why? Perfect for using some of my stamps and stickers/chipboard pieces on to make my own cards! 

I have started my first album. It's a week long vacation in the Smoky Mountains. Over 600 photos and they ALL fit into one - yup one - album! I used a mix of Project Life, My Mind's Eye, We R Memory Keepers, and Kaisercraft journaling cards along with the ones I cut up myself. 

Here's the fun part. Journaling. I hate it. I stink at it. But guess what. Doing pocket scrapbooking is making me journal! I've even Googled places we went for historic details. Crazy I know! 
Oh and the best part. I spent less than 12 hours on this album. Normally, I could spend two entire weekends doing traditional scrapbooking to get that many photos done. I also still would have to do all of my embellishing. And there's no way this would all fit into one album....probably not even two. So I saved a ton of time and shelf space.

I'll have photos of these projects soon! I want to finish my album before I post pics. But stay tuned!  

One last thing about pocket scrapbooking. I also collect postcards from all of my trips and travels. I’ve been looking for a few years for something to organize my collection in. I haven’t had any luck except for plastic envelopes and those were ugly. There are pocket pages that hold 12 postcards! There are page protectors that will hold 12 horizontal or vertical. Thank you We R Memory Keepers! I have been able to give hundreds of postcards a lovely home finally!

Thursday, February 27, 2014

I'm Back!!!!

 I've been working on doing some reorganizing in my studio. Some things just aren't working for me. I also received a Silhouette Cameo for Christmas and that baby needs a home! A few pieces of my furniture went back to their real purpose in life. My armoire went back to my bedroom. It needs a paint job to blend into the nautical bedroom we have. The hutch went to the dining room now that we have the space for it. So that left me with many things needing a new home. Thanks to Home Depot for having some really nice white cheapo bookcases that worked perfectly for this project!

I've been going through many supplies and really considering if I need or want it. Amazing how much I have accumulated over the last 12 years of paper crafting! I have been selling a few things here and there, but I really need to move a lot of stuff. I'm seriously considering having a scrapbook yard sale in the spring. Yup, a tent popped up in my driveway with a bunch of tables kind of scrapbook yard sale. Stay tuned if you happen to be hanging out in the Finger Lakes when the time comes!

All of this cleaning and organizing has made me really want to get photos of my computers and printed so they can go into albums. Here's the problem with traditional and digital scrapbooking. Traditional takes soooooo long and I never feel like I get anywhere. I guess having around 100,000 digital photos will do that. It's been suggested that I stop taking photos by several people. I think they're crazy! I'm too busy traveling to stop taking photos! 

I really do enjoy digital scrapbooking, but I'm still learning and trying to get Photoshop all figured out is time consuming. I just want to get things DONE! And I'm starting to have a hard time remembering where many of my photos were taken. Time to get a move on so I decided to start exploring other options. One included actually printing photos and just putting them in photo albums. I didn't really like that option. And then....

I stumbled onto Project Life. I am not interested in the daily, weekly, or monthly thing. I honestly don't care what I had for dinner on October 3, 2010 nor do I care what the weather was or what clothes I was wearing. It seems like lots of people do care about those things so good for them I say! That aspect just isn't for me. I've already got a zillion photos that need a home.

This brings me to my current project of the week. I started really organizing all of my digital photos. I have them in like 20 million folders on two computers and an external hard drive. Some dated. Most not. It's an incredibly time consuming, but I am making major headway. I've been taking digital photos for 11 years now. Who knew? I sure didn't. While sorting and labeling the photos, I have been uploading all the same folders to Shutterfly for printing! Yay for printing! 

They had a lovely sale a week or so ago where photos were 40% off and the shipping was free because I spent a few dollars. Ok so I printed 1,379 photos. That's barely a dent in what I have. The photos I printed were purposely chosen to bring with me to Crop on the Cape. Why so many? Well, I'm not bringing all of them. I have a weekend crop the following weekend as well. 

So what will I be doing with my mountain of photos? Pocket scrapbooking! Yup, you read that right. What's pocket scrapbooking? It's like Project Life and traditional scrapbooking got together and had a party. You simply take the pocket page protectors and place your photos, filler cards, journaling cards, memorabilia, etc. in the individual pockets. Each page protector has several individual pockets in them. They come in a variety of configurations with different sized pockets for your items to be places vertical or horizontal. 


More about pocket scrapbooking tomorrow!