Showing posts with label Stamping. Show all posts

Friday, January 9, 2015

Expedit Handmade Number Labels

Remember these Expedits?


I said I made numbered labels for the cubes. Here are the tricks to doing this! There are several supplies needed...a punch, number stamps, ink, dauber, stamp cleaner, cardstock, glue dots, and a stamp block if you're using clear stamps or unmounted rubber stamps.


I punched out 50 - yes really 50 - of these labels using one of my punches from EK Success. The size is perfect to fit on the edge of the Expedit shelves. I used the top label and only put the cardstock in the punch far enough to punch those out. I was using scraps of Colonial White cardstock from Close To My Heart.


In this dvd case are the clear number stamps I used. No idea who they are from. Judging by my post it (I love those things!) inside the case, the stamps are from either Clear Dollar Stamps (no longer in business) or Studio G. I used Black Distress Ink from Close To My Heart. That ink is still available and comes paired with a Chocolate Distress Ink cube.


I decided to number the cubes with a 3 digit number. I have 2 Expedits so I figured starting with 101 would let me know something was in paper Expedit in the 1st cube. So I had to stamp 101 -125 and 201 -225. The 200's are my albums and cardstocks.


Here they are all stamped. That took the longest amount of time because I had to keep swapping numbers and cleaning stamps. I used a dauber to make the edges a distressed, roughed up black. I didn't want them to look brand new. I attached them to the Expedit shelves with glue dots! So they are very easily removable and won't damage the finish on the face of the shelf.

I tried for weeks to find some cute metal numbered tags. I didn't want to spend a ton of money. I found some cute Tim Holtz ones, but the package didn't contain enough numbers. I looked on Etsy and found great stuff, but they were over $50 for I needed. No way was I spending 50 bucks on some numbered plates. That's 50 bucks I wouldn't be able to use on scrapping goodies!!! Then I realized something.....how on earth do I attach them? What if I drill holes into my Expedits and hate them or need to make a change later? I'm totally up a creek with holes! No thanks. What I came up with cost me zip. Zero. Zilch. Nothing! I used scraps of cardstock even! I'm very happy with this system and I can always change it and there's no damage.


Thursday, July 10, 2014

Round #2: Handmade Journaling Cards

Ready for another round of handmade journaling cards? This batch is also from Crop on the Cape. I said I was busy! It was one productive crop. That's for sure. I really can't wait for it next year! 

Here we go!!!


This card is made from a cardstock base. There's a glittered baby quilt sticker and yellow/green twine. The "Bundle of Joy" stamped image is from Close To My Heart (not sure which set - I don't have it anymore).


When I was into traditional scrapbooking, I never used alpha stickers. They just weren't my thing. Now with pocket scrapbooking, I've been using them here and there. This card is built on cardstock. The stickers are all from Echo Park. The heart and arrow are enamel dots.


This card is super simple! It's just cardstock with several stickers from Echo Park along with a clear sticker that says "cute". 


Super cute card! I love this one. Something about yellow cardstock just makes me happy. The stickers are from Echo Park as is the tab on the right hand side. To make sure it stays attached in my album, I used my tiny attacher from Tim Holtz. Love those teeny staples! On the bottom left corner, there are 3 enamel dots.


A baby boy card! Cardstock is the base. "Baby Boy" is a bunch of stickers from Echo Park. The twine is yellow/white/blue. To keep the twine in place, I used my handy dandy tiny attacher again. The upper right corner is a giant brad. The bottom left corner was stamped with a roller stamp from American Crafts in white pigment ink.


The next few cards have photos included. The face has been blurred to protect the identity of the child. I'm not into posting photos of children online. There's far too many freaks in this world! Sorry if this upsets some viewers, but I need to protect those in my life when I blog. 


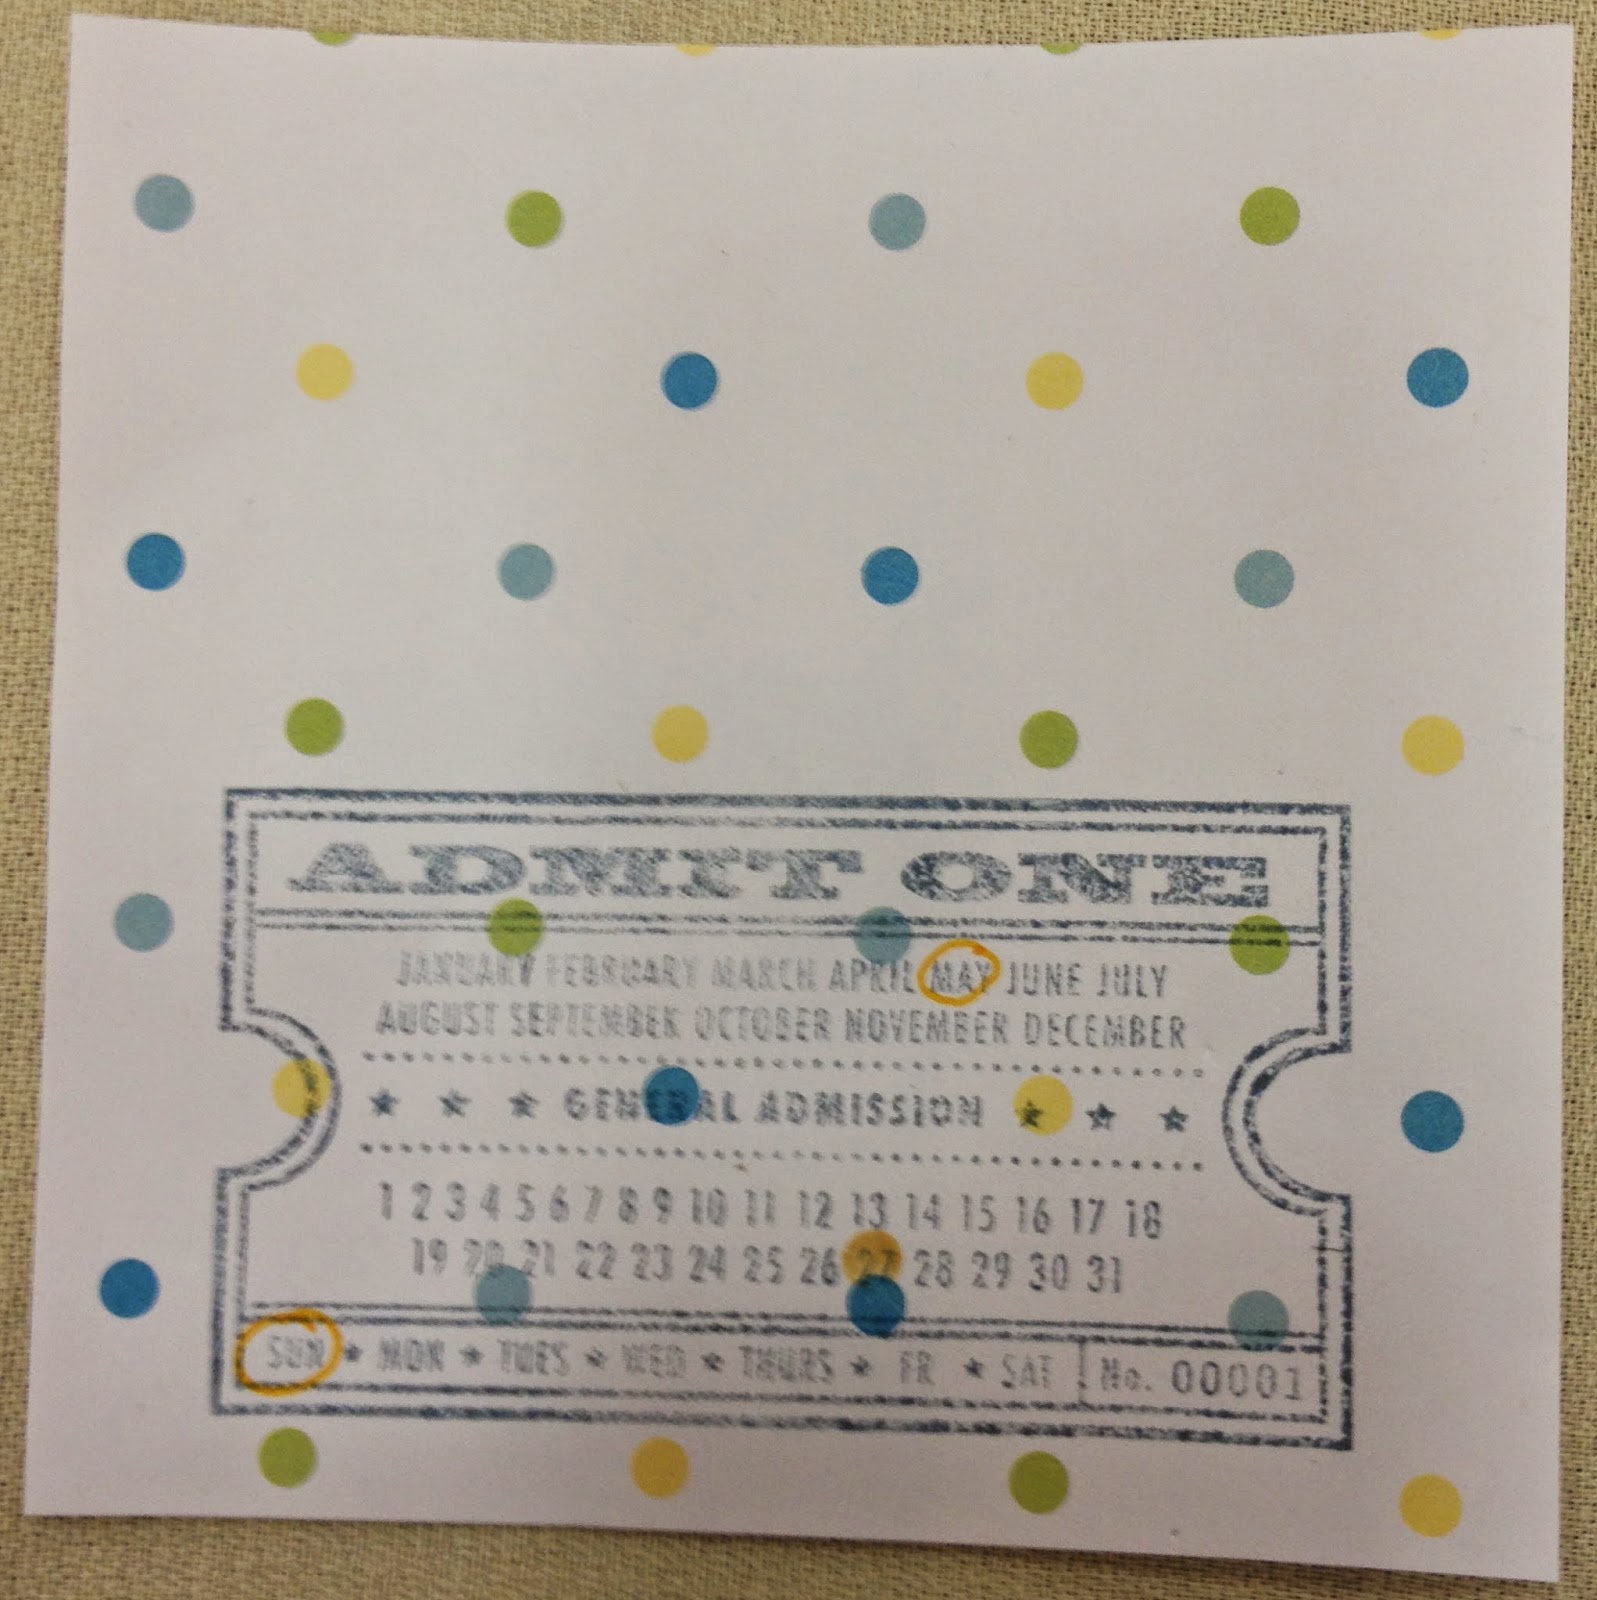
The photo was cut down to 4"x4" and attached to a 4"x6" cardstock card. The blue and white is washi tape. I cut the tape along the chevron blue line to make it look like an arrow. To help keep the end attached to the back of the card, I used a couple of tiny attachers. The stamped image is actually 2 different stamps. The ticket is one stamp. The circle with "baby" is the second. Unfortunately, I don't know who made either one! I wish I did because I really like this ticket stamp. 


This card was made with a 4"x6" cardstock card and a 4"x4" photo. The navy blue polka dot washi is attached with tiny attachers. The little elephant stamp is from B1391 Zoology from Close To My Heart. The little stars stamped under the elephant are also from this stamp set.


The photo is 3"x4" and the cardstock card is 4"x6". The stamp is from S1201 Little Reminder from Close To My Heart. It's actually 2 stamps. The number in the center is one stamp. The outer ring of months is another stamp. The writing was done with a chalk marker.


This is the final journaling card with a photo. It's 4"x4" on 4"x6" cardstock. I made a little banner on the side with white/green twine with pennant stickers from Echo Park. The twine is attached with tiny attachers. 


Super simple card alert! It's made from striped paper with glitter and a "Bedtime Stories" sticker.


I love making these simple cards. They are a great way to use up stickers that I've had in my stash for ages. they are also really fast to put together. I have an organizer with just precut cardstock. This on is 3"x4" with a clear sticker and 3 enamel dots. Easy peasy! 


A 3"x4" cardstock card. The upper left corner has a sticker from Close To My Heart. I don't know who made the stickers on the bottom right corner.


Sticker party! This card is 3"x4". Not sure who made the stickers. The stamp is from American Crafts.


A 4"x4" cardstock base had a get together with some rub ons. I love the calendar stamp! I really do love calendar stamps. I wish I knew who made this one so I could see if they have others. The washi on the bottom is cut on the left side and the right side is held on with tiny attachers.


Another 4"x4" card. The stickers are all from Echo Park.


This one is 3"x4". In the center, it's all one sticker from Echo Park. The grey heart and arrow are enamel dots.


This final card for this round is 3"x4". The sticker is from Echo Park. The stamp in the center is a mystery to me! The green polka dot washi is held on with tiny attachers.

Be sure to check back for Round #3!


Tuesday, July 8, 2014

Handmade Journaling Cards

Many moons ago, Crop on the Cape happened. I used some premade journaling cards. I also made a ton of cards that weekend. All of the cards I made were immediately used and are in my album of my nephew.

So today I'm going to show you a ton of the cards I made! I hope you enjoy. I tried to keep track of what items were used on each card and which stamps were used, but I wasn't always successful. I do have the info on most of them though! Feel free to ask me any questions about them.

This card was for the beginning of the album for my nephews. I started with the baby shower from nephew #1 who is now seven - yup 7!!! - years old. Sadly, this is the first I've scrapbooked him! In one weekend, I finished the first 11 months of his life. It was over 600 photos. His mom and I would scrapbook together every week or two so I saw him lots and cough cough my camera was busy. :)


The base of the card is just Bazzill cardstock. 


Next, I stamped the pregnant lady in chocolate onto the cardstock. The stamp is from Studio G.


I stamped " Mommy to be" in navy ink next to the pregnant lady. Don't know who the stamp is from. Sorry!


The journaling image was stamped next in navy ink. I think it's a stamp from We R Memory Keepers, but I'm not 100% sure about that.


To finish this card off, I added polka dot washi tape and a brad. I did journal some, but I'm not sharing the personal details. 


Up next is a fun card! I looooooooove calendar stamps. I seriously can't get enough of them. I hunt for them every time I go stamp shopping. 

This card was made from Bazzill cardstock, the calendar stamp (no idea who made it), a diaper pin stickers, and a bit of twine.


This card is super cute! I love little ducks. This card was made from Bazzill cardstock, 3 washi tapes, an adorable ducky sticker, and the april stamp is from Close To My Heart's S1111 Cherish the Day. 


Who doesn't love booties? Even better when they're not attached to a swinging foot! This card is made from Bazzill cardstock, a bootie sticker and then I stamped a blank ticket. Not sure who made this stamp. I used a white chalk marker/pen to write the name and date.


This cards is made from Close To My Heart cardstock and a rub on. Simple, easy, and fast!


Bazzill cardstock is the base. A little rhino sticker from Animal Crackers from Close To My Heart and red and white twine. 


The base is cardstock along with a lion sticker from Animal Crackers from Close To My Heart. A few simple embellishments include a red button and red and white chevron washi. The stamps from from D1378 Notice the Details from Close To My Heart.


Pale green cardstock is the base of this card. The alligator stamp along with the "Cloud I be any Cuter?" and hearts are all one stamp from C1501 New Arrival from Close To My Heart. I finished this card off with 3 enamel dots and yellow/white twine.


I love the phrase "Cutie Patootie." The base of this card is scrapbook paper. The "Cutie Patottie" is a rub on. The bottom of the card has navy polka dot washi along with a huge pearl brad.


This card is 4"x4". I have tons of pocket page protectors and they have pockets in a variety of sizes besides 3"x4" and 4"x6". The base of this card is paper. The stars on the right hand side are rub ons. There's a sticker from Echo Park in the center. The calendar stamp on the left is from D1468 On This Day from Close To My Heart.


This card is also 4"x4". The base is scrapbook paper. The "baby sweet cheeks" is a rub on. I finished off the card with 3 enamel dots and baby blue foot print washi.


I made this card as a 4"x4" as well. It's a very simple card made from paper and stamped from D1468 On This Day from Close To My Heart.


This pair of cards are both 4"x4" and they are placed in pockets next to each other in my album. they are made from scrapbook paper and stickers that spell baby.


Remember how I love calendar stamps? I warned you about that. :) The base of this card is cardstock. There's a sticker and some enamel dots. The stamp is from D1468 On This Day from Close To My Heart. 

I did some freestyle journaling. I know many of us are less than excited about our handwriting. I'm part of that crowd! I always feel like a 4 year old wrote for me. It is what it is! One thing I love about Project Life and pocket scrapbooking is the journaling. I've never journaled much at all in my 12 years of traditional scrapbooking. I couldn't stand doing it, but now I actually journal quite a bit! I'm not so afraid of it. I figure my handwriting is mine so deal with it. :)


I totally can't get enough washi. This card is made from cardstock, a sticker, and 3 washi tapes that I cut. The stamp is from C1338 Just for Boys from Close To My Heart.


This card is made from Close To My Heart cardstock. The sticker is from Echo Park. I really love their cardstock stickers! They have some really great graphics and colors. The little blue glitter hand is a brad. The date is handwritten on lines from D1378 Notice the Details from Close To My Heart.

Well, that's all for today. Be sure to stop back tomorrow and I'll be sharing more handmade journaling cards. 

Sunday, July 6, 2014

It's Official!!!! Exciting News!!

I have some exciting news to share. I have been appointed to the Creative Director of Inky Hot Mess! The first thing I am doing is assembling a Creative Team....some would call it a design team, but we'll be doing so many different creative things - traditional scrapbooking, pocket scrapbooking, stamping, card making, altered art, and mixed media - that we're a Creative Team. 

Would you like to be part of the new Creative Team? Please apply! Here's what we are looking for:


inky hot mess is 

looking for a creative team! 


inky hot mess is a family run business located in the heart of the finger lakes in upstate new york. the focus of inky hot mess is on pocket scrapbooking. our goal is to get everyone to get their photos off their computers and phones and printed. we offer a jammed packed monthly kit featuring dozens of journaling cards and a mountain of embellishments. we also offer theme kits, stamps, dies, and embellishments.

what are we looking for? we are looking for individuals with mega talent. all team members are asked to stay with us for six months. inky hot mess will provide all the goodies needed to create your masterpieces as well as a discount at our shop. 

submissions are open until july 31st at 2 pm est. all team members must be located in the usa. the team will be announced on august 15th. your commitment begins september 1st and ends february 28th. 

you agree to submit a minimum of 12 journaling cards every month. more than 12 is highly encouraged! the bulk of the cards will need to correspond to the monthly kit themes. you also agree to promote inky hot mess on your blog, facebook, pinterest, youtube, instagram, etc. you agree to keep the upcoming monthly kit themes under tight wraps. we don't announce our monthly themes before our reveal on the inky hot mess blog. you agree to post our creative team member on your blog.

please send the following items to office@inkyhotmess.com. please use "creative team" for the subject so we get your message right away! 

include your blog, pinterest, youtube, facebook, instagram, address, phone number, and a bio. 

​photos required:
six - eight journaling cards you created
six - eight layouts (pocket page protectors filled) you created 

please answer the following questions:
how long have you been working with project life/pocket scrapbooking?
what is your artistic background? 
what design/creative teams have you been apart of?
have you taught classes? if yes, where?
can you successfully complete a six month commitment? 
why do you want to be a creative team member?
would be able to travel to new york state for a team meeting during your six month term?
are you comfortable working with mixed media?
​do you take fabulous photographs along with step by step instructions? 

*if you don't have a youtube page, no worries! prior design/creative experience is not a requirement!