Showing posts with label Ranger. Show all posts

Wednesday, March 11, 2015

Adventure Seeker & Autumn Harvest Part 2

I found a few more photos that I took of my cards from my last crop. Brace yourselves. I got pretty adventurous with a few of these. I'm still using pieces from the Autumn Harvest Living Life and Adventure Seeker Living Life  collections along with pieces from their Add Ons from Inky Hot Mess.


You really don't have to go to town with each journaling card. There are times I just use them as is or only add a few things. Shocking I know, right?


Here is a whole layout with only 1 card embellished. And it's embellished only a tiny bit. The card all the way on the right is one I made from cardstock and embellishments.


Stars! Love the chipboards stars that came with the Adventure Seeker Living Life. I will be so bummed when I finish off this collection. You can see how much I have enjoyed using it in the blog posts. 

This is how I begin to figure out what cards I need. I put my photos in the pocket page protector I select, then I look through the cards I have that coordinate with what's going on in my pics. These pics are from Clingman's Dome in the Great Smokey Mountains. It was autumn and we went on a hike in the mountains to get to this place.....so I chose autumn colors and embellishments from autumn and the outdoors.

I start by laying out cards in the spaces I need to fill. I may go back and forth on the cards or cardstock a few times until I'm happy. I was happy with the Leaf Peeping card from the Autumn Harvest Living Life. I can tell that because it's in a pocket!


Then I jazz up the cardstocks. Some embellishments. Some stamping. Make sure you put the date somewhere on either the left or right page! 


Believe it or not, all of those embellishments are available from Inky Hot Mess. Love washi. Love flair. I just love love love love embellishments! And yes, those 4 cardstocks above were used to make these cards. Crazy, right? Be sure to check out the Add Ons. There's lots of coordinating embellishments there! 

This card is so so so simple to make! I just used a piece of 12"x12" paper that I cut down to 4"x6" and embellished it. All of the embellishments came from Adventure Seeker Living Life. And I love my Tiny Attacher!


One thing I am frequently asked is how I attach my wood veneers to my cards. I use a liquid glue and I let the pieces sit for at least an hour before I put them in a page protector. Sometimes I have to let them sit longer. Occasionally, the need to dry overnight. 


I use the Tombow Mono Liquid Glue. You can also use Glossy Accents which is made by Ranger. Inky Hot Mess has both of these liquid adhesives available in their shop. 

Well that is all from that crop. Check back soon for more details on my last crop and what I brought with me on my trip to North Carolina to scrapbook!

Wednesday, February 18, 2015

Introducing: Family Memory Box

February brings our first Paper Crafting Kit of the year! We hope you're as excited about this kit as we are. This month we are celebrating photography. The Family Memory Box is perfect for organizing your family photos especially the really old ones. Add in some family recipes, family notes, etc and this box will be jammed packed with your memories. These boxes make wonderful gifts! 


The Family Memory Box Paper Crafting Kit includes 1 4"x6" kraft recipe card box, 36 recipe cards, 69 die cuts, 8 die cut cards, all papers pre-cut to size, 8 divider cards, instruction sheet and access to our video. Many of the items in this kit are from Legacy from Simple Stories. This kit retails for $27.95. 


Additional supplies needed which are not included in the kit: Tim Holtz’s Tiny Attacher & Refills, 1” foam brush, baby wipes, liquid adhesive such as Tombow’s Aqua Mono Liquid Adhesive,  tape runner adhesive, Rose Gold SticklesVintage Photo Distress Ink, and Viva Ferro Gold

Friday, February 13, 2015

Thursday's New Items 02-12-15

Today is jammed packed with awesome new goodies! Cracked Pistachio anyone? Keep on reading!

First up we have 3 new individual veneers. Quantities on these are limited so grab them while you can! We have a football helmet, a gear, and a Thank You tag.


We have lots of journaling cards! Today we have added 7 sets of journaling cards! The first sets are from WRMK and Teresa Collins. They are Little One,  Love NotesQuoted, and Snapshots. These include both 3"x4" and 4"x6" cards.


Me & My Big Ideas (aka MAMBI) has collections of themed cards. We have added I Love Life to our store. This set includes both 3"x4" and 4"x6" cards.


Our last journaling cards are from KaiserCraft. Both the 3"x4" Be Mine and the 4"x6" Be Mine sets are now shipping.


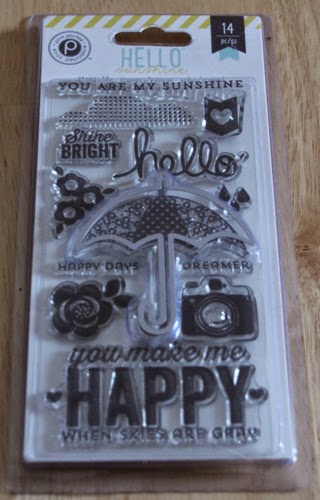
Like stamping? Like die cutting? How about combining them together? Pink Paislee's Hello Sunshine does just that. This item is very limited.


Got bling? This week we have added two colors from KaiserCraft. They are Yellow Rhinestones and Aqua Marine Rhinestones.


We love puffy stickers so we have brought Cherry Cola from American Crafts to you!


WRMK not only has Little One journaling cards. They have coordinating Little One Wood Stickers. So adorable!

Need some super cute embellishments? Love hearts or stars? Jillibean Soup has the cutest vellum die cut embellishments in hearts and stars.


Who doesn't love alphas? Thickers are super popular and Heidi Swapp has her own thick alpha stickers. The Navy Glitter Hello Today alphas are available right now.


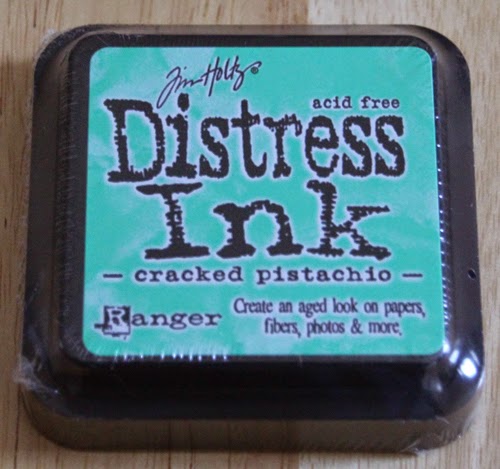
Ok we won't keep it from you any longer.....Cracked Pistachio! Yuppers, it has arrived. We have the Cracked Pistachio Ink PadCracked Pistachio Ink Refill, and Cracked Pistachio Distress Stain available right now.


That wraps up this week's new items! Happy shopping. Come back next Thursday for more goodies!

PS Be Sure to stop by on the 15th for the Inky Hot Mess new collections release. There are 4 new collections this month! And on the 28th there will be new items in Inky's Travels!

Friday, December 5, 2014

New Items 12/04/14 @ Inky Hot Mess

Have you seen what goodies Inky Hot Mess has released recently? We have been adding products left and right to our store. Lots more to come. We'll be adding new products every Thursday for the rest of the year!

Items now in stock:

Copper Liquid Pearls

Silver Maya Gold 

Warm & Cozy 6x6 Paper Pad

Peppermint Swirl Captured Moments 3x4 Cards

Peppermint Swirl Captured Moments 4x6 Cards

Basecoat ChristmasCaptured Moments 3x4 Cards

Basecoat ChristmasCaptured Moments 4x6 Cards

Scrumptious Sentiments Stickers

Be sure to stop back next Thursday to see what's new in the Inky Hot Mess shop! We have lots and lots of embellishments on order.

Monday, December 2, 2013

Cyber Monday Sale

The Cyber Monday Sale begins at midnight EST and ends Tuesday at midnight EST. Have questions? Send me a message! 
Don't forget you must join our Facebook group to see what items are available. Join us on Inky Hot Mess.

Close To My Heart Stamps sizes A, B, C, and D are $3 off! 
Close To My Heart Stamps E size and kits are $5 off!
House Mouse stamps over $5 are $2 off!
SEI ink pads are $1!
Close To My Heart cardstock alphabet stickers are $0.50 each!
All 6x6 paper pads are $3 each!
Close To My Heart Background & Texture papers are $2 off!
Close To My Heart Level 1 Kist are $2 off!
Close To My Heart Base Pages are $2 off!
All albums are $2 off!
We R Memory Keeper stickers are $1
Washi Tape is $0.50 off!
Studio G stamps are $0.75!
Ranger Adirondack Ink Pads are $1!
Karen Foster Design stickers are $0.50!
Cuttlebug die sets (set of 4 dies) are $3!

Tuesday, October 29, 2013

Family Christmas Invitation

Over the weekend, I made our family Christmas invitations! I still have to type up the text for the inside, but that requires me to play in Photoshop and I really need to be in the mood to deal with Photoshop.

Why an invitation to Christmas? Well, we live several hours away from our families and we feel it's very important to share the holidays with them especially since our nephews are growing so fast! Before we relocated, We hosted the family Christmas Feast every year. Both sides of the family would come. I love having a house full of people on Christmas! Christmas is my most favorite day of the year. It's really hard to spend it away from family, but we're managing.

During the past week, I have used several sheets of Papertrey Ink's cardstock and I really have fallen in love with them. I looooooove the weight! It's not expensive either. It's only a little bit more than you pay in a big box store for cardstock that's about as thick as printer paper. And it comes in so many colors. You can buy it by the individual color or a yearly sampler pack which has every color in it. You can also buy the individual colors in three packs - 12, 24, or 50 sheets. And here's the best part. If you spend $70 or more, you get free shipping! 


Papertrey Ink has really thought of everything. They have coordinating cardstocks, inks and reinkers, ribbons, buttons, felt, and baker's twine. They have very high quality controls and will not sell a product if it is not 100% up to their standards. Their colors really match! I can't say that about every company unfortunately. There's nothing worse than stamping away only to discover your ink is a completely different shade of red, blue, purple, whatever than the matching cardstock. That's so frustrating!

Here is my Christmas invitation:

Papertrey Ink & Inkadinkado
The card base is Poppy from Papertrey Ink. The cardstock with the stamped image is Colonial White from Close To My Heart. The edges of the Colonial White cardstock are distressed with Topiary ink from Close To My Heart.

Inkadinkado, Ranger, & Tsukineko
Both images are stamped and embossed. The tree is from Artistic Holiday from Inkadinkado. It was first stamped using Pearlescent Thyme from Brilliance made by Tsukineko. Then I embossed the tree using Frosted Crystal embossing powder from the Embossing Antiquities line from Ranger. 

Inkadinkado, Tsukineko, & Close To My Heart
The Merry Christmas image was stamped in Platinum Planet from Tsukineko's Brilliance line. Then I embossed over it with Cranberry embossing powder from Close To My Heart. This stamp is from the Filigree Holiday Patterns set from Inkadinkado.


I do not receive any compensation for the products used on Inky Hot Mess. I use what I like. The products are not given to me. I have purchased every item used. So if I think something stinks, I'll tell you to save your money and go elsewhere. If a product is given to me to test out, I will let you know. 


Monday, October 28, 2013

Have a Holly Jolly...

Yup....I was singing Christmas carols Thursday evening. I blame my friend Erin. She has some friends who are in the military and she ganged up on us and demanded we make a bunch of cards to send to them so they can have awesome cards to mail home to their families, friends, and loved ones. It's like a mini Operation Write Home for her friends.

Now, I admit I am not a card maker. But darn it, I'm going to try! So I made two cards last week. I made four of each card and covered two themes. Winter and Christmas are done. Considering doing some New Year cards. I discovered I have a cute New Year stamp! Who knew? Not me! And then I will be doing some Valentine's Day cards. Probably a birthday batch as well. Then I'll be done. I have a bunch in a box I was going to send to OWH, but I just watched a video from them and I think my cards are too thick! Ugh. Less pop dots is more....Ok I'm not buying, but I'm trying to convince myself!

It's a Wonderful Life - A Muse Studios
Card #1 is my Christmas carol card. Everybody....sing along...sure it's only October, but Christmas will be here before you know it! Have a Holly Jolly Christmas.... Where's Frosty when you need him?

A Muse Studios, Papertrey Ink & The Paper Studio
The Holly Jolly stamp is from a super cute stamp set from A Muse Studio. The set is called "It's a Wonderful Life." I live two towns over from the famous bridge and the town that inspired the movie! I kid you not. There's a museum there and a huge festival every December. Actors from the movie come here for it and everything. Crazy, right? But so cool! That's why I was interested in the stamp set. I didn't even look to see what came in the box!

Have a Holly Jolly Christmas
It's a Wonderful Life is in the chalkboard style that is wicked popular right now. I stamped Holly Jolly in the reverse. It's stamped on white cardstock with True Black ink from Papertrey Ink. The brick red paper is from a Christmas stack from The Paper Studio which is Hobby Lobby's brand. The cardstock underneath the paper is Pinefeather from Papertrey Ink. The base is white cardstock distressed with Pinefeather ink from Papertrey Ink.

One thing I love about Papertrey Ink's cardstocks are how heavy they are! Their cardstocks are 110 pound weight! That's like pro cardstock. They know what they are doing there! I have only purchased the samples of their cardstocks before. I've had one pack since 2011! And I never opened it. Shame on me! This is what happens when you're a scrapbooker and you resist crossing over. I'm trying though!

Let It Snow Cards
The second card I made I got a little crazy with the inks. Adirondack Colorwash from Ranger is dangerous! It's highly addicting. I wasn't going to wait overnight for the card bases to dry so out came the heat gun. So the cards have a slight curl to them, but I'm sure it will flatten out once packaged and shipped to my crazy friend Erin.

Sailboat Blue Adirondack Colorwash

I used two bottles of Adirondack Colorwash (made by Ranger) - Sailboat Blue and Denim. The papers are from Magic of the Season from The Paper Studio.

Denim Adirondack Colorwash
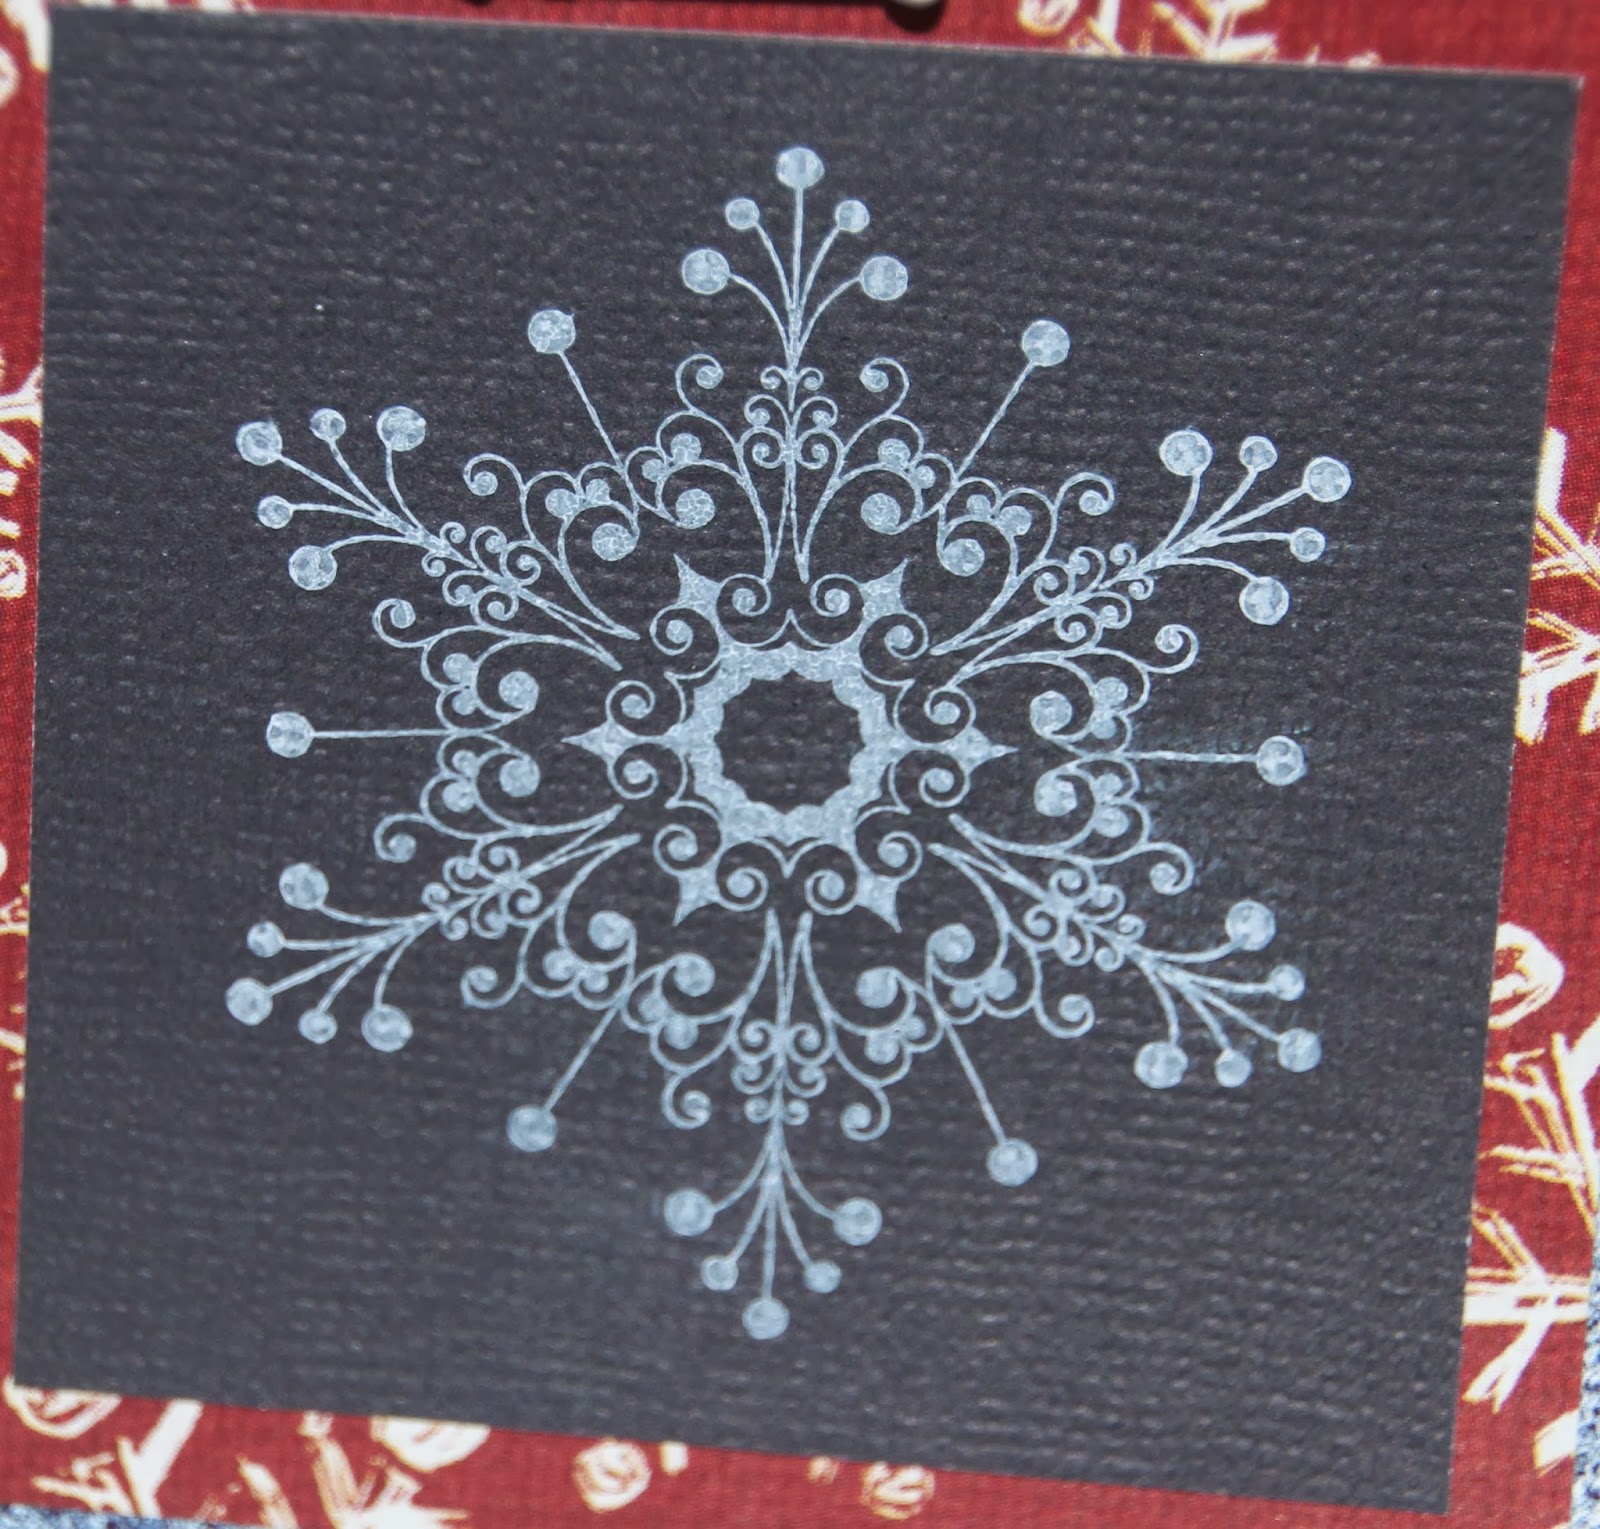
For "Let It Snow" and the snowflake I used Colonial White pigment ink from Close To My Heart. A little white Liquid Applique heated up with my heatgun puffed up.

Snowflakes - The Paper Studio
The "Let It Snow" stamp is from the Snowflakes set form The Paper Studio.

Artistic Holiday - Inkadinkado
The snowflake stamp is from Artistic Holiday by Inkadinkado.


A Muse Studio is a home party company so you cannot find their stamps in stores or online except for their website. I was recently put into contact with Pamela who is an A Muse Studio Consultant by one of my good crafting friends. If you'd like to see more from A Muse Studio or purchase It's a Wonderful Life so you can sing Christmas carols in October, please feel free to contact Pamela. Click here to visit her website.

I do not receive any compensation for the products used on Inky Hot Mess. I use what I like. The products are not given to me. I have purchased every item used. So if I think something stinks, I'll tell you to save your money and go elsewhere.

Friday, September 2, 2011

What an Inky Hot Mess!

So I bought this really cool set of metal drawers at Hobby Lobby last week. They retail for $79.99, but HL had a 50% off sale. Love those! I wanted some place a little unique to hold all of my ephemera. Hobby Lobby has had some great small storage pieces in the past so I went looking there. Success!

I should have taken a photo before I got started. Silly me didn't. The piece was just metal like the top and sides are now. I don't ink them up at all. The fronts of the drawers however had a little makeover.

How did I do this? Alcohol Inks from Tim Holtz (Ranger) of course! Oh and a few of Tim's Mixatives and Alcohol Blending Solution helped out a bit. These are the Alcohol Inks I used: Pesto, Currant, Clover, Sunset Orange, Meadow, Hazelnut, Raspberry, Raisin, Sail Boat Blue, Denim, Mushroom, Pool, Oregano, Pitch Black, Slate, Pebble, and Citrus. These are the Mixatives I used: Copper, Silver, and Pearl.

I also used a few sponges I have cut into quarters and my heat gun. My table always has clear vinyl covering it. This keeps the actual table looking good. The clear vinyl I purchased from Wal-Mart in the craft department. It was about $3 a yard. They do have ones that cost less. Our store was out when I purchased mine.

My table would certainly be interesting looking if I didn't have this protective covering. Between inks and mists oh what a mess! They all don't wipe up easily either. On top I have at least one sheet of newsprint. I buy my newsprint from Lowe's in the moving section. The have large sheets rolled up so there's no folds. This is much cheaper than buying newsprint in the art department in a craft store.

For this project I had three sheets of newsprint on top of the vinyl. It still bled through to the vinyl a little bit, but it didn't stick to the vinyl.

So how did I ink up the drawers? Well, I did each drawer one at a time. I stood the drawer up and dropped a few drops of three to four inks all over the front. Then I use one of the sponges and dab all over the front. Each drawer got a different sponge so the colors didn't all blend and become a muddy mess. I spritzed some Alcohol Blending Solution (yup, I have the squirt bottle they come in and I have a spray bottle with some also) on top of the ink drops. Using my heat gun, I blew around the ink and for the ones with the Mixatives I dropped them on before I dried the ink. I dried the ink with the heat gun. I didn't dry them completely because it would have taken forever and the drawers were getting a tad warm to the touch. I used a clean sponge to push them back into their cubby hole.

WARNING: The drawers do get VERY hot if you heat them too long. Also make sure you're in a very ventilated area. The heat with the ink and Mixatives can be a little odorous for some.

To protect my clothing, I wear a black apron. Why black? It hides the inky mess easily! I also have a towel handy. I have a few hand towels that are just for my studio. They are very interesting colors between the inks and paints oh baby! Oh and baby wipes are a must have. I have a box at all times on my studio table. I also always remove all of my rings and bracelets whenever playing with ink and paints. I don't want to see if the ink will come off my wedding rings later.

Until next time *

Get your ink on!

Friday, March 25, 2011

Cricut Circle Meetup

THE beginning of March led me on a road trip to Atlanta. Why Atlanta? To attend a Cricut Circle Meetup!

There were several firsts at the Atlanta Cricut Circle Meetup. First off, we were treated to some brand new Circle bling! The flair on the right is something that will be happening at all Circle get togethers. There are 50 different pieces of flair. How cute that I have a Georgia one. Sure hope we have a South Carolina event. Ooh a North Carolina event would also be fabulous!

The little navy guy on the left is the Circle Charm for the first year of the Circle. The same color charm is used for the whole year so you have a long time to get one! Provo Craft told us what color will be coming out with our next year. I'm sworn to secrecy! But I'm am telling you, most girls will love it.

There were lots of other goodies, too! Some of us even scrapbooked a little. You could hear the hum of Cricut die cutting machines all day long.

These wooden cut outs are only available at Circle events. The one on the left is the Circle logo. The one on the right is the Cricut logo. And in the middle is the Eiffel Tower from French Manor which was the first Cricut Cartridge sent to Circle members. I haven't decided what to do with the yet. Paper? Ink? Paper? Glitter? Ribbon? Bling? I guess we'll have to wait and see.

At all Circle events, we're asked to make our own unique Calling Cards. This shows you all of the ones I received. Sadly, I think I missed some people as there were about 40 of us there and I don't have 40. Kinda sad about that! Some of them were truly amazing and took quite some time to put together. Hey, mine isn't in this photo!

Mine is in this photo! Along with the sock monkey one my friend Kendra (aka the Scrappin' Cricut) made.

I also have Susan's and the amazing box she made for everyone at the Meetup! Turns out Susan lives in the development next to me! It truly is a small world. Crazy that I had to go 3 1/2 hours away to meet her!

My Calling Card is the Georgia one. The pieces are on black cardstock from Close To My Heart. I used the 50 States Cricut Cartridge to make the Cherokee Rose (Georgia's state flower) and the Georgia in the center with a pewter brad. Georgia was cut from Taffy cardstock from Close To My Heart and sprayed with Terra Cotta Color Wash and Copper Perfect Pearls Mist from Ranger.

And finally, there were prizes galore! I think everyone got something. There were some HUGE prizes and some small prizes. One lucky gal one a Cricut Imagine! Her reaction was truly amazing. I was so happy for Amy to win. She was one of the folks who helped arrange the Meetup. That's not why she won it. The prizes are given away completely randomly. Our Calling Cards were put in a bowl and our cards were drawn we then went to a bowl and drew a number. That number was written on a prize. I won prize 22 which was the Cheerful Seasons Cricut Cartridge from Creative Memories. Notice the big 22 written by Shannon from Provo Craft on it? Pretty cool prize if you ask me!

There was other HUGE surprise for us. A little lady named Teresa Collins paid us a visit. I'll tell you about that fabulous woman later this week! She gave us an incredible project. It was another first!

Until next time *

What goes round and round? The Circle!