Showing posts with label Pocket Scrapbooking. Show all posts

Friday, January 16, 2015

Adventure Seeker Layouts

I spent last weekend at a weekend crop on the gorgeous Canandaigua Lake in the Finger Lakes. I spent the weekend scrapbooking photos from 2010 and 2011. We made a trip each fall to the Great Smoky Mountains when we lived in South Carolina. I found a pile of photos my husband took and they were never scrapbooked. Big sad face!


All of photos I scrapbooked were the outdoors and nature. The Great Smoky Mountains are absolutely gorgeous! Seriously, if you ever get the chance to visit them, GO! You won't regret it! There's numerous small towns filled with local shops and restaurants. Then there's the beautiful sights mother nature created. The Blue Ridge Parkway is manmade, but it gives you access to some of the greatest sights I've ever seen. It's a great way to take your time and enjoy your leisure time. If you're into historic homes like me, there's a little place called the Biltmore Estate you can tour and many of the towns have old houses. We just drove and walked around looking at them. There are some you can tour.

Chimney Rock State Park in Chimney Rock, North Carolina is a very interesting park! If you're into geology, stones, crazy trails, and looking at the world from the sky, Chimney Rock State Park needs to be on your must see list! We spent a good part of the day at the park checking it out. I've never stood on top of a rock thousands of feet in the air and looked down at the world below me. I'm not a huge fan of heights, but this is an experience!

I have two layouts to share with you from this trip. They were taken by my husband. He went on some of the trails I wasn't physically able to go on. Big sad face! I used Adventure Seeker Living Life from Inky Hot Mess for these layouts.


The kit comes with journaling cards and lots of embellishments. The "Back to Nature" card I used as is. I took a piece of yellow cardstock and jazzed it up with some of the embellishments from Adventure Seeker Living Life. I even did some journaling! See I told you I am working on that journaling thing. :) The pocket that is 6"x8" has a piece of scrapbook paper in it. It was once a 12"x12" sheet and I cut it down.


I only had 2 photos left and had to figure out a way to use them and make it look interesting with journaling cards. I still used Adventure Seeker Living Life. I had plenty of cards left! I also embellished a card. Most of them I used as they are. The one called "October" I journaled on. I used my iPhone at the crop to find some trivia about the Chimney Rock. To finish the card, I added a mini paper clip that was in the embellishment bag. I made one card using cardstock. I used a sticker and the sign post veneer. Simple yet it gives me some texture.


A few other things happened at the crop. I finished a roll of washi tape! No one believes me. So I'm glad I took a pic!


I finished a spool of twine. Never thought that would happen either. It was my favorite twine so I am bummed. I would love to find it again or another one similar to it. I also finished a card of twine. I have a pic of that one!


I kind of feel special that George Vanderbilt got the last of this twine. Between the Great Smoky Mountains and the Adirondack Park, the Vanderbilt family did some amazing things. They sure built beautiful, timeless homes!


Wednesday, January 7, 2015

Title Pages

Even though I pocket scrapbook now, everything hasn't changed. For a few years, I've been making Title Pages to separate my layouts in albums. This was something I decided to keep doing in my pocket scrapbooking albums. I think it will be great for our vacations and trips. My plan is to put all of my 2015 photos in chronological order instead of individual albums. I used to have an album or two for a day at the zoo, several for a weekend at a NASCAR race, an album or two or three for the nephews, several albums for our furkids, countless for vacations - each day could be up to 3 albums.

Sounds awesome, right? Sure. If you have a place to stick all of those albums! And who wants to lug 3 or 4 or 5 heavy, oversized, overstuffed albums off of a shelf drag them to the couch to show people? Excuse me while I get me shopping cart! Yeah, not exactly fun. And seriously, who wants to look at your 20 layouts of the same 3 monkeys eating lettuce? LOL No comment! I may or may not have 20+ pages of a group of monkeys monkeying around.

How do I make my Title Pages? Well, for one thing, they all are 12x12. I saved 12x12 page protectors just for this purpose. The base is a piece of paper.....they may or may not be matted onto cardstock. It all depends on how they fit into the page protector. Some of the Title Pages are a tad thick and some papers aren't true 12x12 - some are something like 11 3/4 x 11 3/4. The gaps make me nuts!

I use paper that goes with the theme of the event, place, animal, person, what have you.I use a lot of die cuts! I make some on my Cricut, my Silhouette, and I buy a number of them. I also use stickers, stamps, and mixed media.

Here are a few that I finished awhile ago. I have sort of scrapbooked the photos from these adventures. The layouts have been waiting for up to 5 years for embellishing. Pretty sure that's not going to happen. I'm going to reprint the photos and pocket scrapbook them. They won't take up 5+ albums this way either.

About 5 years ago we went on a huge Southern vacation. It was 2 1/2 weeks long and we visited 6 Southern states. These Title Pages are for that trip. I have others to make.


First up is my Charleston, SC one. Surprisingly, Charleston does have beaches! There's even a lighthouse that I still need to see. We spent a few days looking for the sites they used to make the movie The Notebook. This is my favorite movie ever made and my favorite book. Walking across the street to the theater on King Street where they laid in the street was absolutely amazing! I'm not sure if this Title Page is completely done or not. I won't know until it goes into my album. There will be another on the back that covers the days events and sites.


Next is the one for Wilmington, NC. I had no idea that Wilmington had lots of palm trees. I also didn't realize that it was on the Cape Fear River. I thought it was on the coast....as in the Atlantic Ocean...Apparently, I didn't study the map too well. It's a pretty cool little town. I can see why tons of movies and tv shows are made there. This Title Page has a seashell metal charm on it. Not sure if this one is complete either yet.


We made sure to hit the Outer Banks on this trip. Finally got to see the Cape Hatteras Lighthouse! You can see the base from where it used to be. Several years ago, they had to move it 1 mile inland. It's amazing how close to the edge of the ocean it was.

This Title Page has little teeny, tiny shells glued on with Glossy Accents. You may remember me talking about the greatest paper crafting store ever built formerly known as Colorful Creations. The store was on Cape Cod....oh darn another excuse to hit the Cape! Jayne sold these teeny, tiny little shells there and I may have a stockpile of them. Jayne still hosts Crop on the Cape in mid-March and I will be there!


We also spent time in Georgia. Had to go to the Georgia Aquarium. At the time, it was the largest aquarium in the world by volume. Walking through the tunnel with fish and sharks swimming around you is an amazing experience.

Notice the post it note? Yeah, I bring a stack of them along with a Sharpie to every crop. I always have something to finish up at home. This Title Page is not complete and the post it says so. There's a thick 12x12 clear transparency sheet that sits on top of this paper. The note says to mix ink with Glossy Accents and make bubbles. I want to try this on a transparency scrap before I do it on the real page in case it doesn't work well or looks like a hot mess.


Another stop was Savannah, GA. I absolutely love historic houses and Savannah has plenty of them. It's also the birthplace of the Girl Scouts and Forrest Gump was filmed here. There's a great park that's definitely worth checking out. Lots of fun, little shops, too. We did a river cruise and ate at Paula Deen's Lady & Sons restaurant. I absolutely love her BBQ sauce! First time I ever had a Johnnycake and it was quite tasty.

There's another post it! I need to cut out a magnolia for this Title Page. I know I want it big. I may see if I have any magnolia stickers also. This paper is from a tropically beach kit from Creative Imaginations. Remember them? They had the BEST beach/ocean papers every year.

Well, those are the ones I have waiting for a home. I'll be making more soon and I'll share them with you!

Tuesday, November 11, 2014

Weekend Retreat

Ever attend a weekend retreat or a weekend crop? If not, you must! They are fabulous. I just got home from one hosted by an amazing scrapbook store in Butler, PA which is just outside of Pittsburgh.

The Scrapbook Super Station is really one of the largest scrapbook stores I've ever been to. She carries so much more than just paper and cardstock. She has lots of embellishments, inks, stamps, mixed media (squeal!), altered are item, lots of Tim Holtz, and so much more.

This week there will be tons of pics and info about what I completed. Inky Hot Mess is introducing something called Glam Veneers this week. They're pretty sweet. I'm sure you will love them as much as we do! There were tons of questions about them at the retreat.

I will show what to do with photos that aren't printed in true 4x6. Oops! Did you know digital pics are actually 4x5.33? Yeah, I printed these pics loooooong before I started pocket scrapbooking. Imagine my surprise and annoyance. But it all worked out and the layouts are pretty jazzy if I do say so myself.

You'll also see what the girl who dislikes journaling does with her journaling. Yeah, back in the olden days before electricity and running water when I did traditional scrapbooking, I never journaled. Absolutely hated it. I sucked at keeping track of date also.....hello they are on digital photos so how hard was it to write it or stamp it? Apparently, it was too challenging for me. :)

This girl previously hated alpha stickers. Save your tomatoes....you'll need them for the salad you'll be eating tonight while you check out my posts. I used bunches of them. You'll get to see what happens when they collide with ink and what I do what I can't get them to sit perfectly on a card. No point in having a nervous breakdown over a letter....especially since the trash was sitting just 8 inches away.

Come back soon for lots of info and goodies! You'll be happy you did! Come back even if you don't pocket scrapbook. You'll love all the info and pics. This stuff will work for anyone who has ever taken a photo!

Thursday, July 10, 2014

Round #2: Handmade Journaling Cards

Ready for another round of handmade journaling cards? This batch is also from Crop on the Cape. I said I was busy! It was one productive crop. That's for sure. I really can't wait for it next year! 

Here we go!!!


This card is made from a cardstock base. There's a glittered baby quilt sticker and yellow/green twine. The "Bundle of Joy" stamped image is from Close To My Heart (not sure which set - I don't have it anymore).


When I was into traditional scrapbooking, I never used alpha stickers. They just weren't my thing. Now with pocket scrapbooking, I've been using them here and there. This card is built on cardstock. The stickers are all from Echo Park. The heart and arrow are enamel dots.


This card is super simple! It's just cardstock with several stickers from Echo Park along with a clear sticker that says "cute". 


Super cute card! I love this one. Something about yellow cardstock just makes me happy. The stickers are from Echo Park as is the tab on the right hand side. To make sure it stays attached in my album, I used my tiny attacher from Tim Holtz. Love those teeny staples! On the bottom left corner, there are 3 enamel dots.


A baby boy card! Cardstock is the base. "Baby Boy" is a bunch of stickers from Echo Park. The twine is yellow/white/blue. To keep the twine in place, I used my handy dandy tiny attacher again. The upper right corner is a giant brad. The bottom left corner was stamped with a roller stamp from American Crafts in white pigment ink.


The next few cards have photos included. The face has been blurred to protect the identity of the child. I'm not into posting photos of children online. There's far too many freaks in this world! Sorry if this upsets some viewers, but I need to protect those in my life when I blog. 


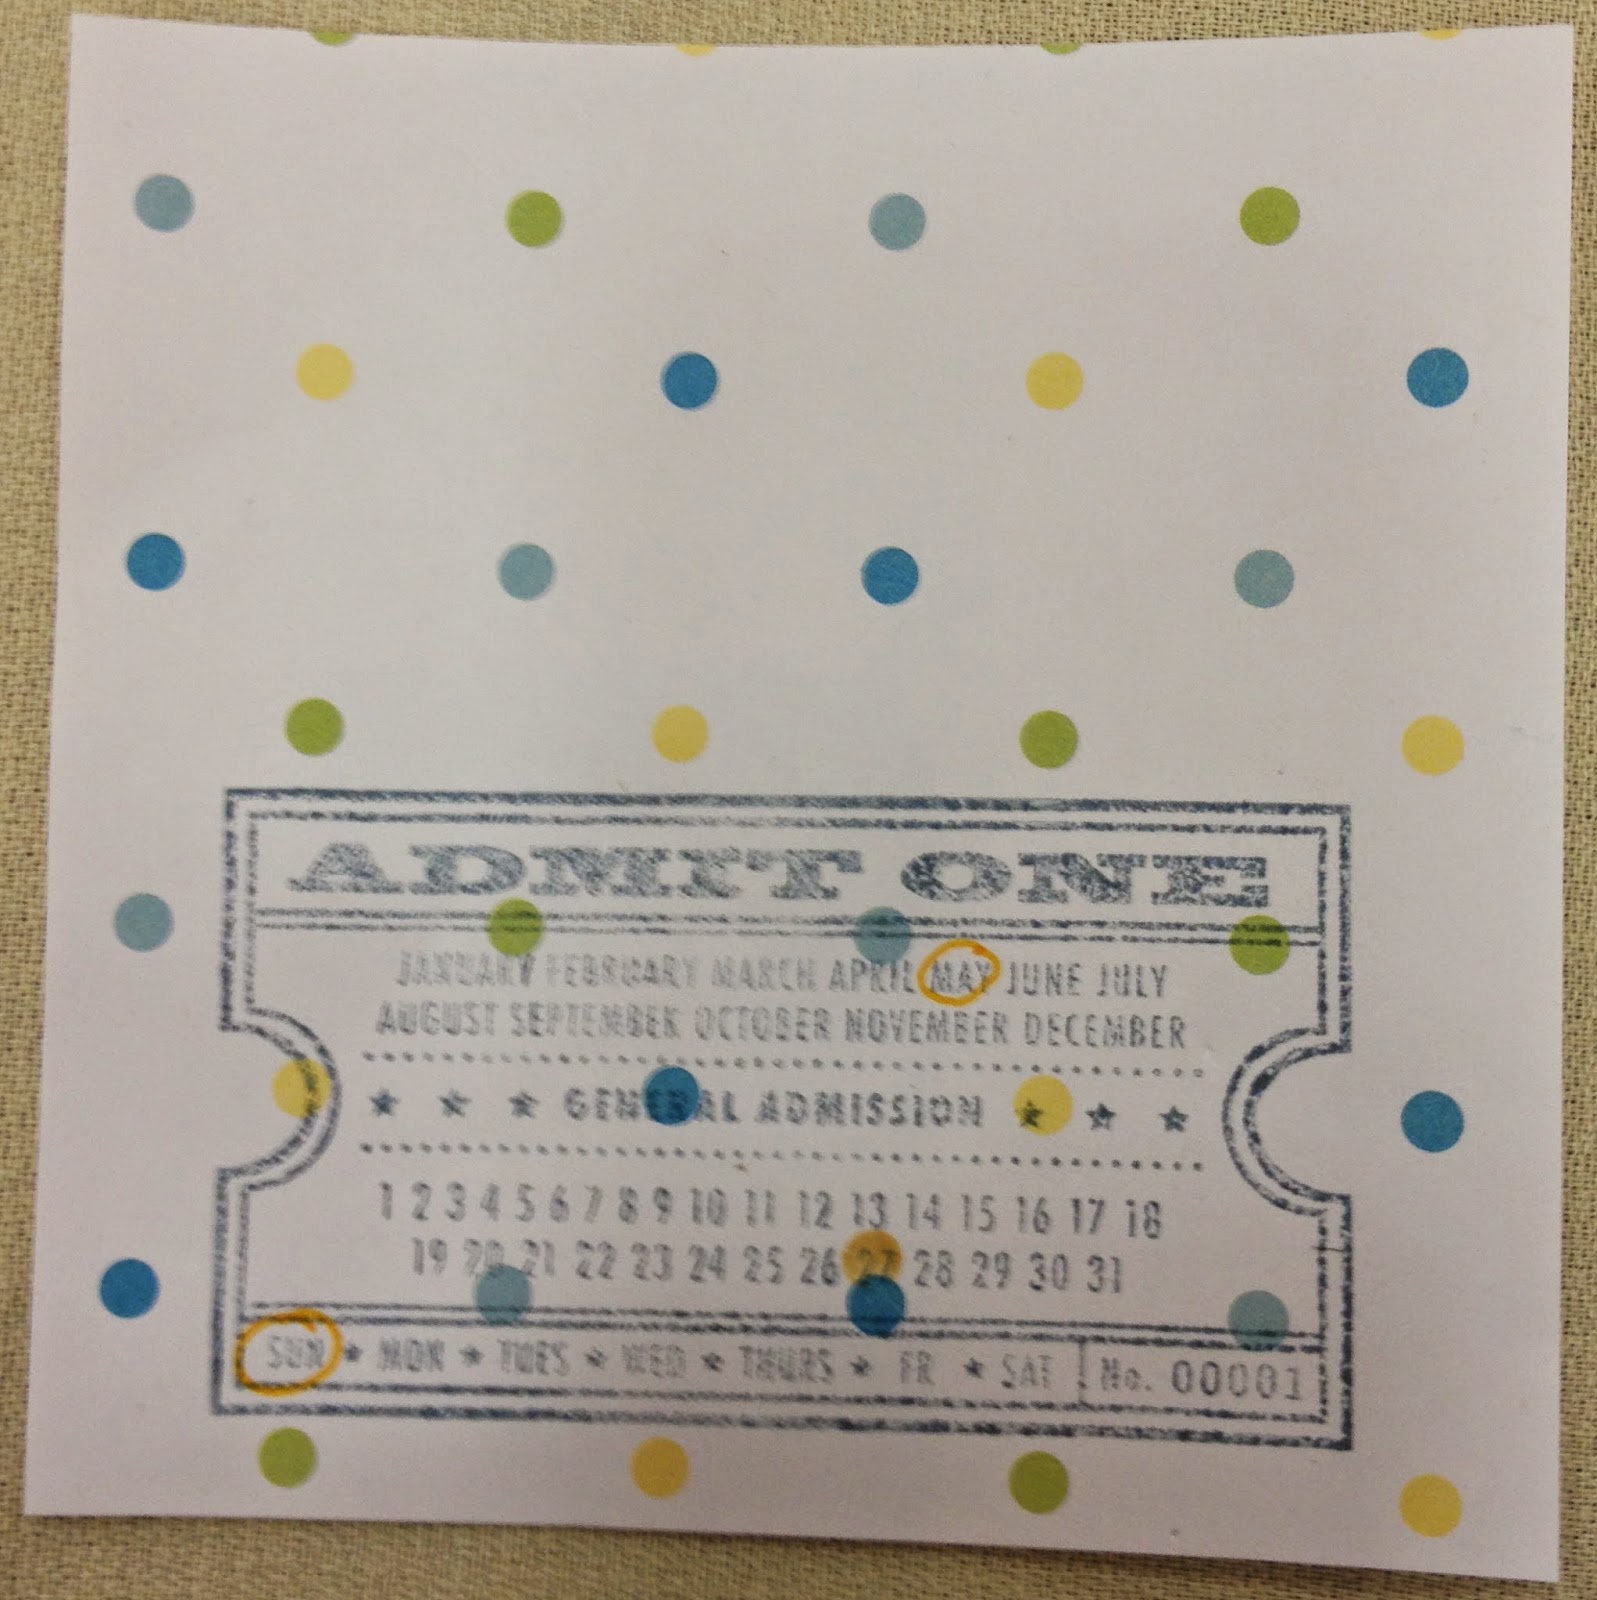
The photo was cut down to 4"x4" and attached to a 4"x6" cardstock card. The blue and white is washi tape. I cut the tape along the chevron blue line to make it look like an arrow. To help keep the end attached to the back of the card, I used a couple of tiny attachers. The stamped image is actually 2 different stamps. The ticket is one stamp. The circle with "baby" is the second. Unfortunately, I don't know who made either one! I wish I did because I really like this ticket stamp. 


This card was made with a 4"x6" cardstock card and a 4"x4" photo. The navy blue polka dot washi is attached with tiny attachers. The little elephant stamp is from B1391 Zoology from Close To My Heart. The little stars stamped under the elephant are also from this stamp set.


The photo is 3"x4" and the cardstock card is 4"x6". The stamp is from S1201 Little Reminder from Close To My Heart. It's actually 2 stamps. The number in the center is one stamp. The outer ring of months is another stamp. The writing was done with a chalk marker.


This is the final journaling card with a photo. It's 4"x4" on 4"x6" cardstock. I made a little banner on the side with white/green twine with pennant stickers from Echo Park. The twine is attached with tiny attachers. 


Super simple card alert! It's made from striped paper with glitter and a "Bedtime Stories" sticker.


I love making these simple cards. They are a great way to use up stickers that I've had in my stash for ages. they are also really fast to put together. I have an organizer with just precut cardstock. This on is 3"x4" with a clear sticker and 3 enamel dots. Easy peasy! 


A 3"x4" cardstock card. The upper left corner has a sticker from Close To My Heart. I don't know who made the stickers on the bottom right corner.


Sticker party! This card is 3"x4". Not sure who made the stickers. The stamp is from American Crafts.


A 4"x4" cardstock base had a get together with some rub ons. I love the calendar stamp! I really do love calendar stamps. I wish I knew who made this one so I could see if they have others. The washi on the bottom is cut on the left side and the right side is held on with tiny attachers.


Another 4"x4" card. The stickers are all from Echo Park.


This one is 3"x4". In the center, it's all one sticker from Echo Park. The grey heart and arrow are enamel dots.


This final card for this round is 3"x4". The sticker is from Echo Park. The stamp in the center is a mystery to me! The green polka dot washi is held on with tiny attachers.

Be sure to check back for Round #3!


Tuesday, July 8, 2014

Handmade Journaling Cards

Many moons ago, Crop on the Cape happened. I used some premade journaling cards. I also made a ton of cards that weekend. All of the cards I made were immediately used and are in my album of my nephew.

So today I'm going to show you a ton of the cards I made! I hope you enjoy. I tried to keep track of what items were used on each card and which stamps were used, but I wasn't always successful. I do have the info on most of them though! Feel free to ask me any questions about them.

This card was for the beginning of the album for my nephews. I started with the baby shower from nephew #1 who is now seven - yup 7!!! - years old. Sadly, this is the first I've scrapbooked him! In one weekend, I finished the first 11 months of his life. It was over 600 photos. His mom and I would scrapbook together every week or two so I saw him lots and cough cough my camera was busy. :)


The base of the card is just Bazzill cardstock. 


Next, I stamped the pregnant lady in chocolate onto the cardstock. The stamp is from Studio G.


I stamped " Mommy to be" in navy ink next to the pregnant lady. Don't know who the stamp is from. Sorry!


The journaling image was stamped next in navy ink. I think it's a stamp from We R Memory Keepers, but I'm not 100% sure about that.


To finish this card off, I added polka dot washi tape and a brad. I did journal some, but I'm not sharing the personal details. 


Up next is a fun card! I looooooooove calendar stamps. I seriously can't get enough of them. I hunt for them every time I go stamp shopping. 

This card was made from Bazzill cardstock, the calendar stamp (no idea who made it), a diaper pin stickers, and a bit of twine.


This card is super cute! I love little ducks. This card was made from Bazzill cardstock, 3 washi tapes, an adorable ducky sticker, and the april stamp is from Close To My Heart's S1111 Cherish the Day. 


Who doesn't love booties? Even better when they're not attached to a swinging foot! This card is made from Bazzill cardstock, a bootie sticker and then I stamped a blank ticket. Not sure who made this stamp. I used a white chalk marker/pen to write the name and date.


This cards is made from Close To My Heart cardstock and a rub on. Simple, easy, and fast!


Bazzill cardstock is the base. A little rhino sticker from Animal Crackers from Close To My Heart and red and white twine. 


The base is cardstock along with a lion sticker from Animal Crackers from Close To My Heart. A few simple embellishments include a red button and red and white chevron washi. The stamps from from D1378 Notice the Details from Close To My Heart.


Pale green cardstock is the base of this card. The alligator stamp along with the "Cloud I be any Cuter?" and hearts are all one stamp from C1501 New Arrival from Close To My Heart. I finished this card off with 3 enamel dots and yellow/white twine.


I love the phrase "Cutie Patootie." The base of this card is scrapbook paper. The "Cutie Patottie" is a rub on. The bottom of the card has navy polka dot washi along with a huge pearl brad.


This card is 4"x4". I have tons of pocket page protectors and they have pockets in a variety of sizes besides 3"x4" and 4"x6". The base of this card is paper. The stars on the right hand side are rub ons. There's a sticker from Echo Park in the center. The calendar stamp on the left is from D1468 On This Day from Close To My Heart.


This card is also 4"x4". The base is scrapbook paper. The "baby sweet cheeks" is a rub on. I finished off the card with 3 enamel dots and baby blue foot print washi.


I made this card as a 4"x4" as well. It's a very simple card made from paper and stamped from D1468 On This Day from Close To My Heart.


This pair of cards are both 4"x4" and they are placed in pockets next to each other in my album. they are made from scrapbook paper and stickers that spell baby.


Remember how I love calendar stamps? I warned you about that. :) The base of this card is cardstock. There's a sticker and some enamel dots. The stamp is from D1468 On This Day from Close To My Heart. 

I did some freestyle journaling. I know many of us are less than excited about our handwriting. I'm part of that crowd! I always feel like a 4 year old wrote for me. It is what it is! One thing I love about Project Life and pocket scrapbooking is the journaling. I've never journaled much at all in my 12 years of traditional scrapbooking. I couldn't stand doing it, but now I actually journal quite a bit! I'm not so afraid of it. I figure my handwriting is mine so deal with it. :)


I totally can't get enough washi. This card is made from cardstock, a sticker, and 3 washi tapes that I cut. The stamp is from C1338 Just for Boys from Close To My Heart.


This card is made from Close To My Heart cardstock. The sticker is from Echo Park. I really love their cardstock stickers! They have some really great graphics and colors. The little blue glitter hand is a brad. The date is handwritten on lines from D1378 Notice the Details from Close To My Heart.

Well, that's all for today. Be sure to stop back tomorrow and I'll be sharing more handmade journaling cards. 

Monday, July 7, 2014

Raskog Adventure Part 2

I've been asked about how I transport my Raskog carts. I drive a small SUV. It is bigger than a shoebox and does the job. I have a little thing for hauling stuff around. I'm always on the go.

Well, my Raskogs do travel well! This the carts all packed up leaving Crop on the Cape. This is the cart on the right side of my SUV. Yes, they are standing up on my backseat. Yup, they are seat-belted in! They didn't move an inch and they had a seven hour ride home.


The plastic bins you see are the Medium Organizers from Close To My Heart. They fit perfectly and they hold a ton of cards for pocket scrapbooking!


And the cart on the left side. The sun was shining right in my face as I was loading up. Sure beats the snow that started off the weekend! This cart doesn't have the organizers from CTMH. It has the Antonius bins from Ikea. They be ordered online as well.